Relentless Pursuit
Southern France 3rd
September 1944
An earlier version of this scenario appeared in an issue of the Society of Twentieth Century Wargamers (SOTCW) magazine The Journal
Like
the cavalry regiments of old, the wheeled units of the 117th Cavalry charged
down quiet French mountain back roads skirting the town on Bourg-en-Bresse.
Their orders were the “Relentless Pursuit” of the German 19th Army,
speed was of the essence to prevent the Germans forming a defensive line. The
US main force was left behind in their mad dash, unbeknown to them, disaster
awaited the young men from South Carolina!
History
On
15th August 1944, the Allies began their invasion of Southern
France. Allied commander General Patch knew he had to avoid the mistakes of the
campaign in Italy, his forces must prevent the Germans from forming blocking
positions in the mountain passes during their retreat. He also wanted to
destroy as much of the German General Heinrich Wiesse`s 19th Army and not allow
it to withdraw to the German border at its own pace.
7th
Army would leave the capture of the French ports to its French allies. The US
divisions would advance northward toward Grenoble and continually outflank the
German positions thus preventing a solid front from being formed.
Patch
had a tactical advantage as ULTRA intercepts were able to decode German orders
nearly a full day ahead of the Germans themselves! From these intercepts Patch
knew that Generalmajor Wend Von Wietersheim`s 11th Panzer Division was in Lyon,
a couple of attempts to force this experienced formation out had proved frustrating
and costly for the Americans. In an attempt to isolate this formidable unit;
VI Corps (General Truscott) formulated a plan
to send a recon cavalry force to skirt around Bourg-en-Bresse then seize and
hold the village of Montrevel and hold it.
The scenario
Lt.
Col. Hodge and his 117th Recon Cavalry Group are to seize and hold the village
of Montrevel 10km north of Lyon.
The Game
I
decided to change history just a touch and made Montrevel a forward supply base
for 19th Army, thus giving the American cavalry someone to fight whilst taking
the village. They then form a blocking position against Germans coming from the
south - along the same road they just used! So depends how the first half plays
out this may end up and another 2-part game.
117th Cavalry
Group
All
trained with good morale
Lt.
Col. Charles Hodge
HQ
Radio
half-track – 2 officers, NCO, 2 RTO, 2 riflemen
2
Jeeps – officer, NCO, RTO, 3 men
M20
A/C
3
Recon troops with:
M8
A/C
2
Jeeps (one with .50cal) – officer, NCO, RTO, 3 men
Dodge
6x6 - 8 men (BAR, Bazooka)
Support
troop
2
x M5 lt tanks
M8
HMC
German defenders
All
average/trained
HQ
elements of Supply Company 716th Infantry Division with
CO,
2IC, NCO, 2 telephone operators, 2 runners
1
platoon 716th Feldgendarme (10 men)
1
platoon 716th Light Supply Company (10 men – LMG, 1 Panzerfaust)
2
platoons 532th Supply Command each with: 10 men – LMG, 1 Panzerfaust each
Luftwaffe
flak section – 20mm flak + crew
Various
trucks, trailers & wagons with supplies
The
US cavalry must try and secure the village by turn 20, before elements of 11th
Panzer alerted by radio arrive:
11th Panzer
battle-group
All veteran with good morale
Elements of 11th Panzer recce battalion
SDKFZ222
armoured car
Sdkfz
250/9 armoured car
Sdkfz
232 armoured car
Sdkfz
233 armoured car
12-man
recce infantry platoon carried in 2 Sdkfz 250 half-tracks (2 LMG, 2
Panzerfaust)
Recce
Swimwagon – officer, RTO, Driver
2
x Panzer IVH, 1 x Panther
1
platoon of panzer grenadiers carried in an Sdkfz 251 (10-men LMG, Panzerfaust)
1
platoon of panzer pioneers carried in a Sdkfz 251/7 (flamethrower)
Support
Wesp
SP 105mm battery (can be directed by the recce swimwagon)
The
US can call an airstrike on a roll of 5-6 (1D6) which will arrive 1d3+1 turns
later –
A
single P47 carry 2 50lbs bombs
If
this action lasts more than 20 turns, the US receive reinforcements (again from
the south along the same road)
Elements of 45th
Infantry Division
Experienced
with good morale
HQ
Radio
half-track, Jeep – CO, 2IC, officer, NCO, 2 x RTO
2
x rifle companies in trucks each with:
HQ
– officer, RTO, NCO, driver
3
platoons – 10 men (BAR)
Support
platoon - .30cal, 60mm mortar, bazooka plus crews
Sherman
company – 3 tanks
Support
2
x 105mm batteries (can be directed by battalion or company HQs)
Actual history
The
117th landed at St Tropez on 15th August as part of Operation Anvil. Placed
under the command of Task Force Butler, they advanced north attempting to
prevent the Germans from retreating into Germany. By 31st August VI Corps found
itself facing 11th Panzer Division in and around Lyon, Gen. Truscott decided to
skirt the city and envelope the German forces there.
The
117th arrived at Montreval on 3rd September they captured around sixty Germans
– administrative and supply personnel who had been sheltering from the poor
weather; They then established their blocking position. Wietersheim upon
hearing of the American move dispatched Major Karl Bode and his Aufkl Abt.11
(11th Panzer Recon Battalion) reinforced with some Panthers, SP
artillery and panzer pioneers,
At
11.00 the Americans began to receive artillery fire and then a probing attack
by elements of 11th panzer recon battalion supported by Panthers! By 16.30
Hodge`s command had been overrun and the survivors forces to abandon Montrevel,
all the commands M8 SP howitzers and M5 light tanks plus a number of armoured
cars, trucks and Jeeps had been destroyed and “B” troop was almost wiped out to
a man! By the time leading elements of 45th Infantry Division arrived it was
too late! The failure to block the route north meant that the experienced
German combat formation (11th Panzer) managed to hold open a corridor which
allowed large parts of 19th Army reach the Belfort Gap, which helped
prevent 7th Army reaching and crossing the Rhine for some time.
Lt.
Col. Hodge later received a personal message from Generalmajor Wietersheim
praising the courage and tenacious defence put up by his men at Montrevel.
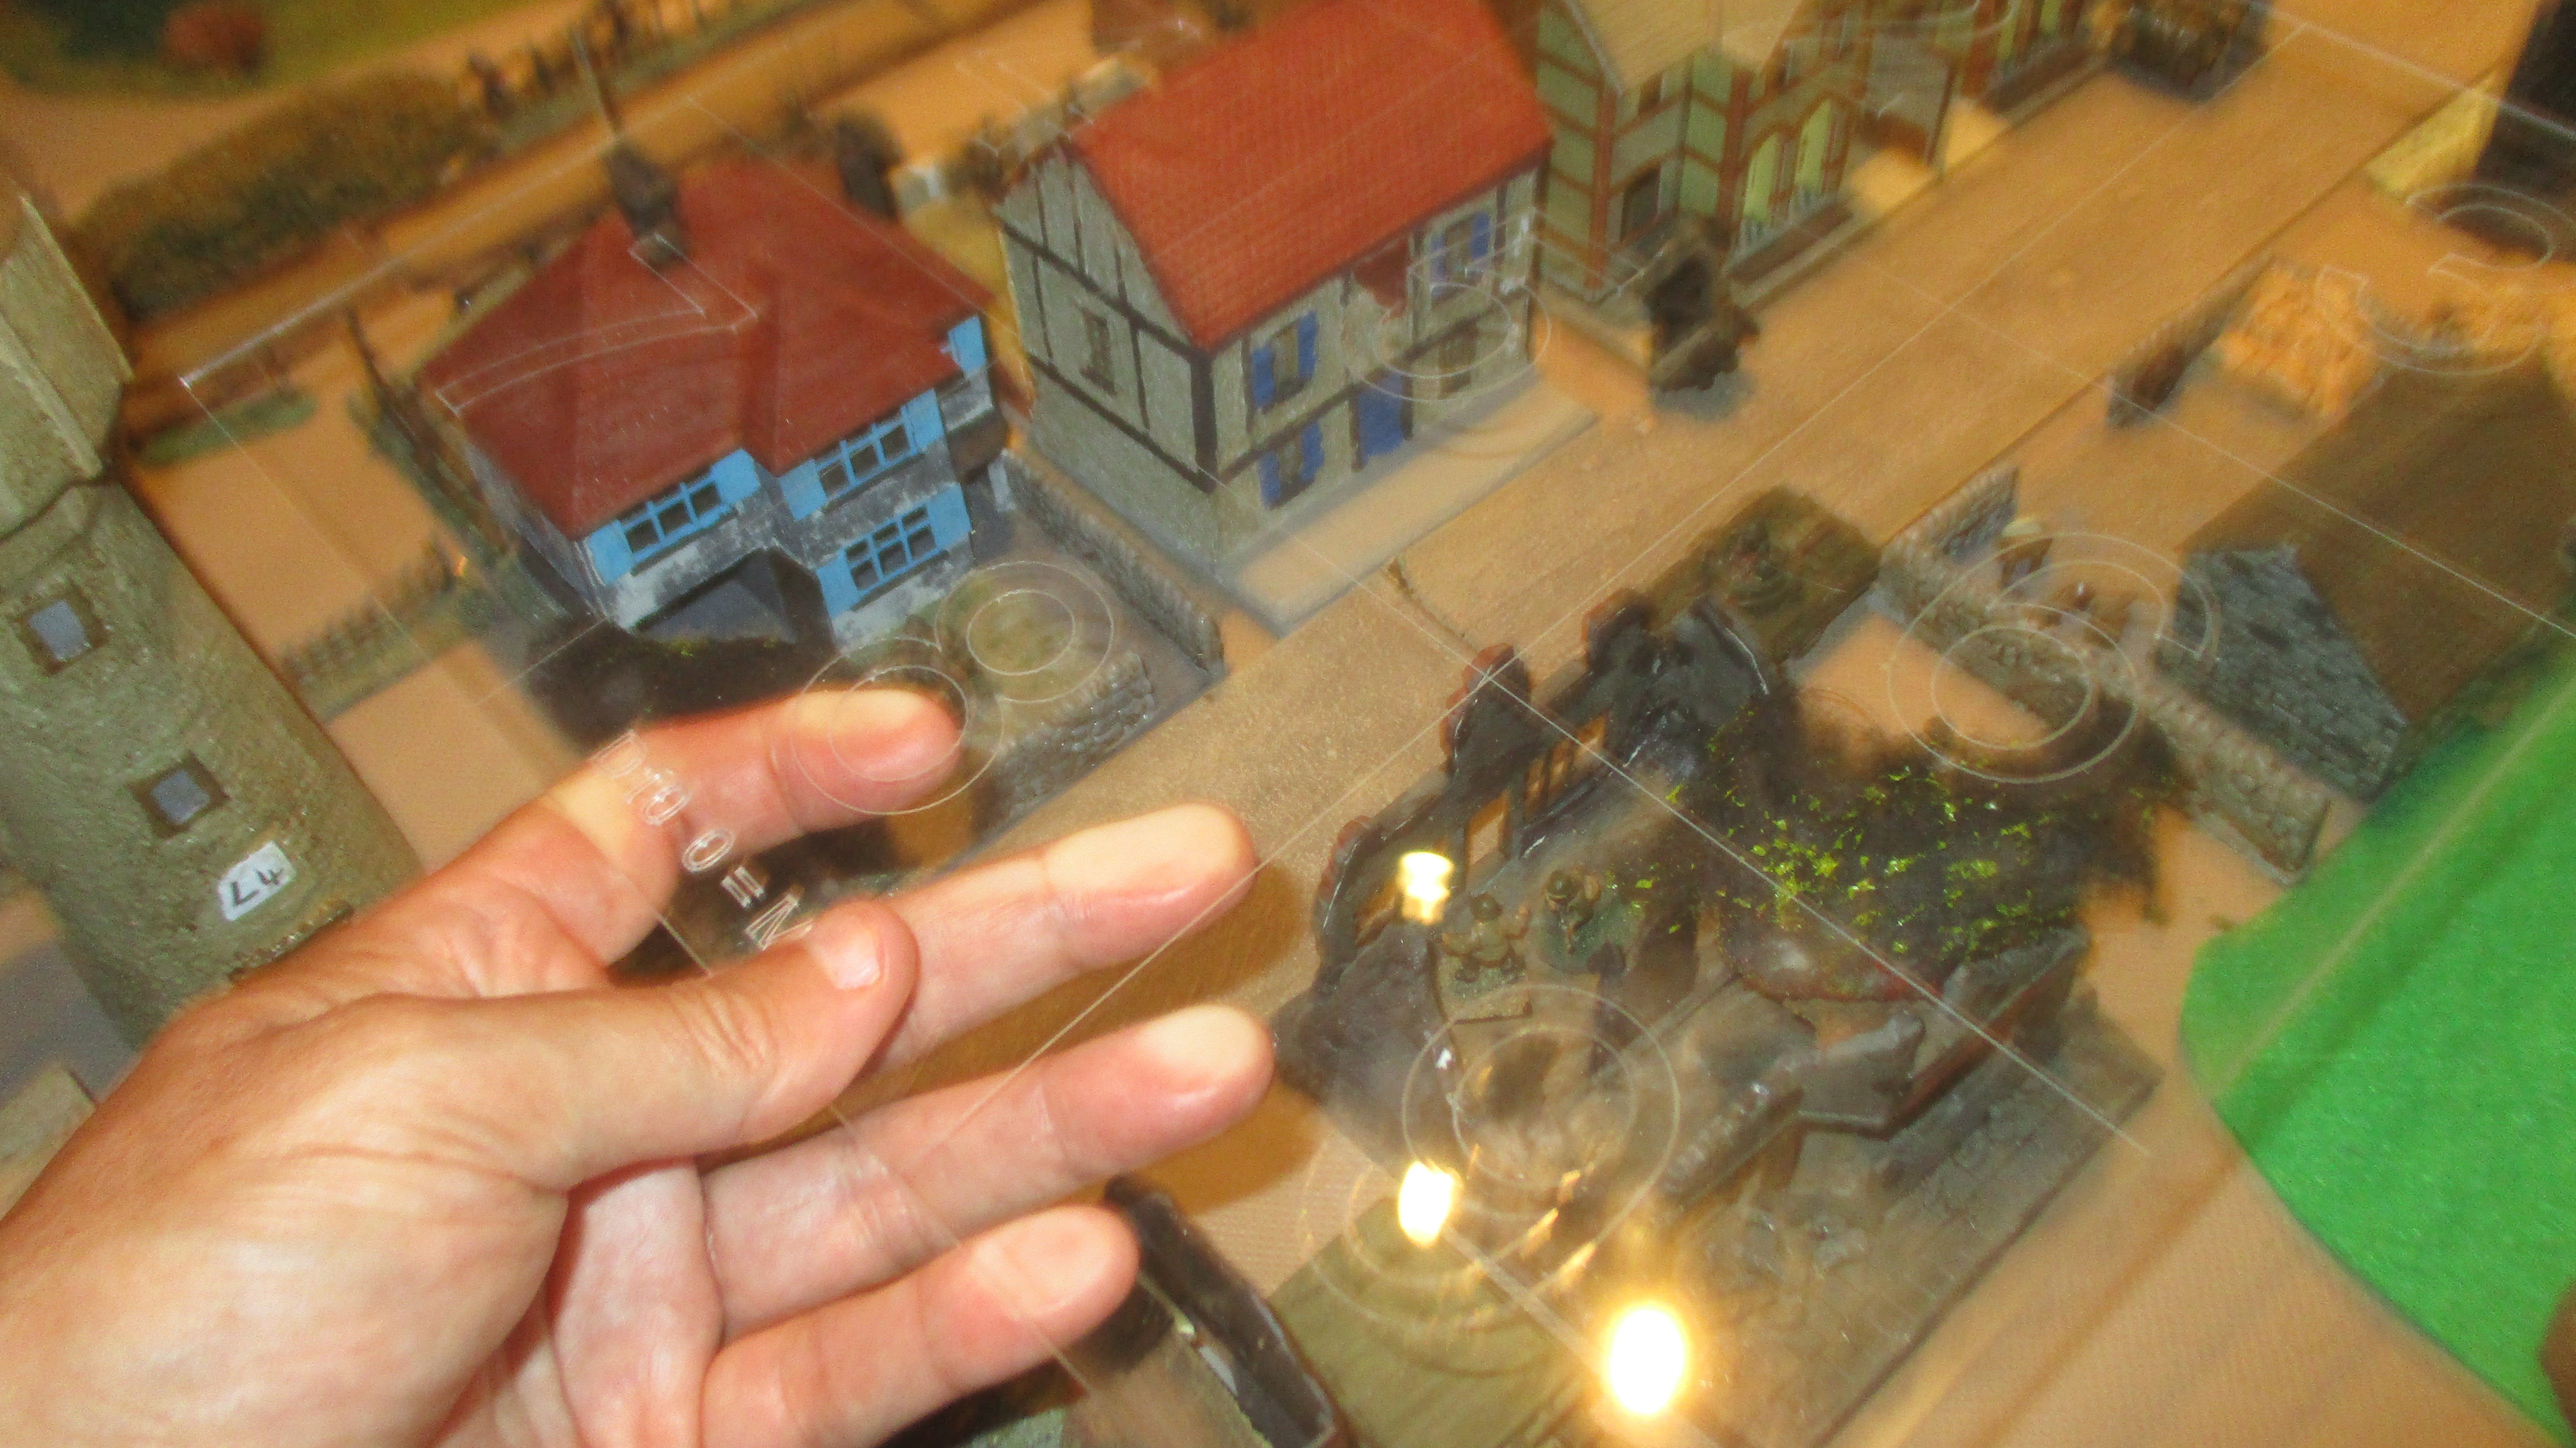
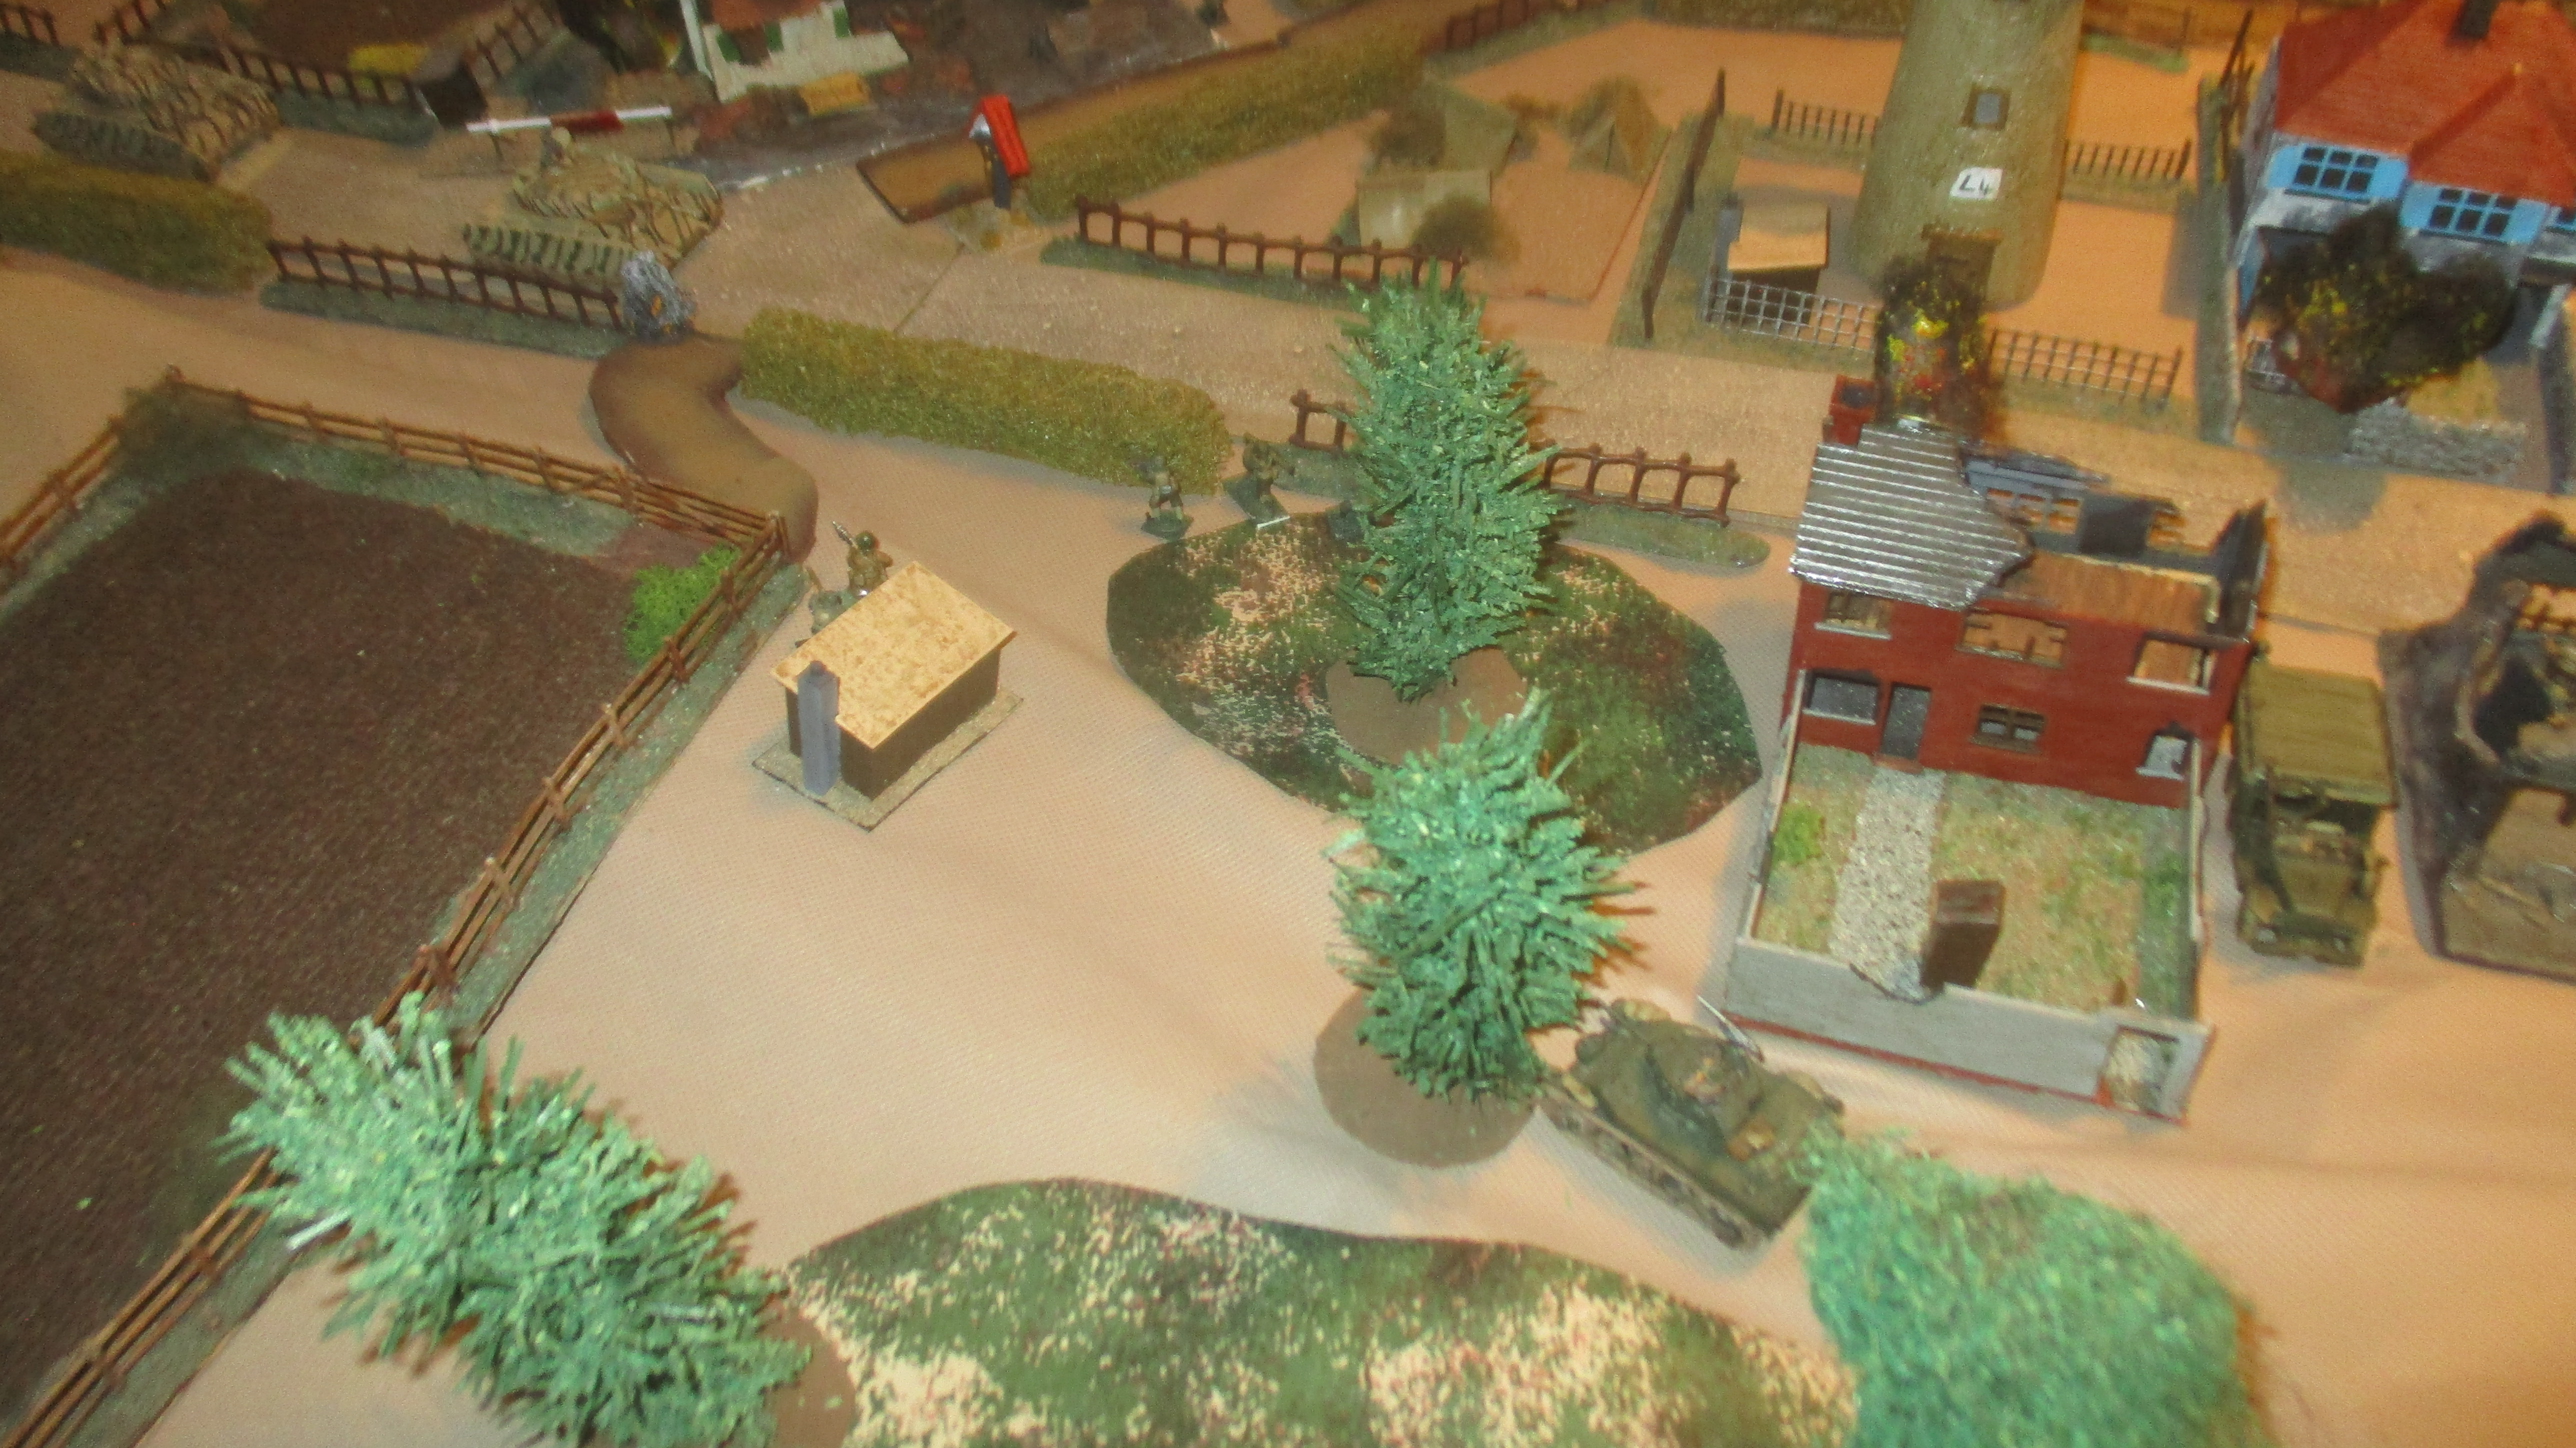
My
Table
Looking
north toward the village
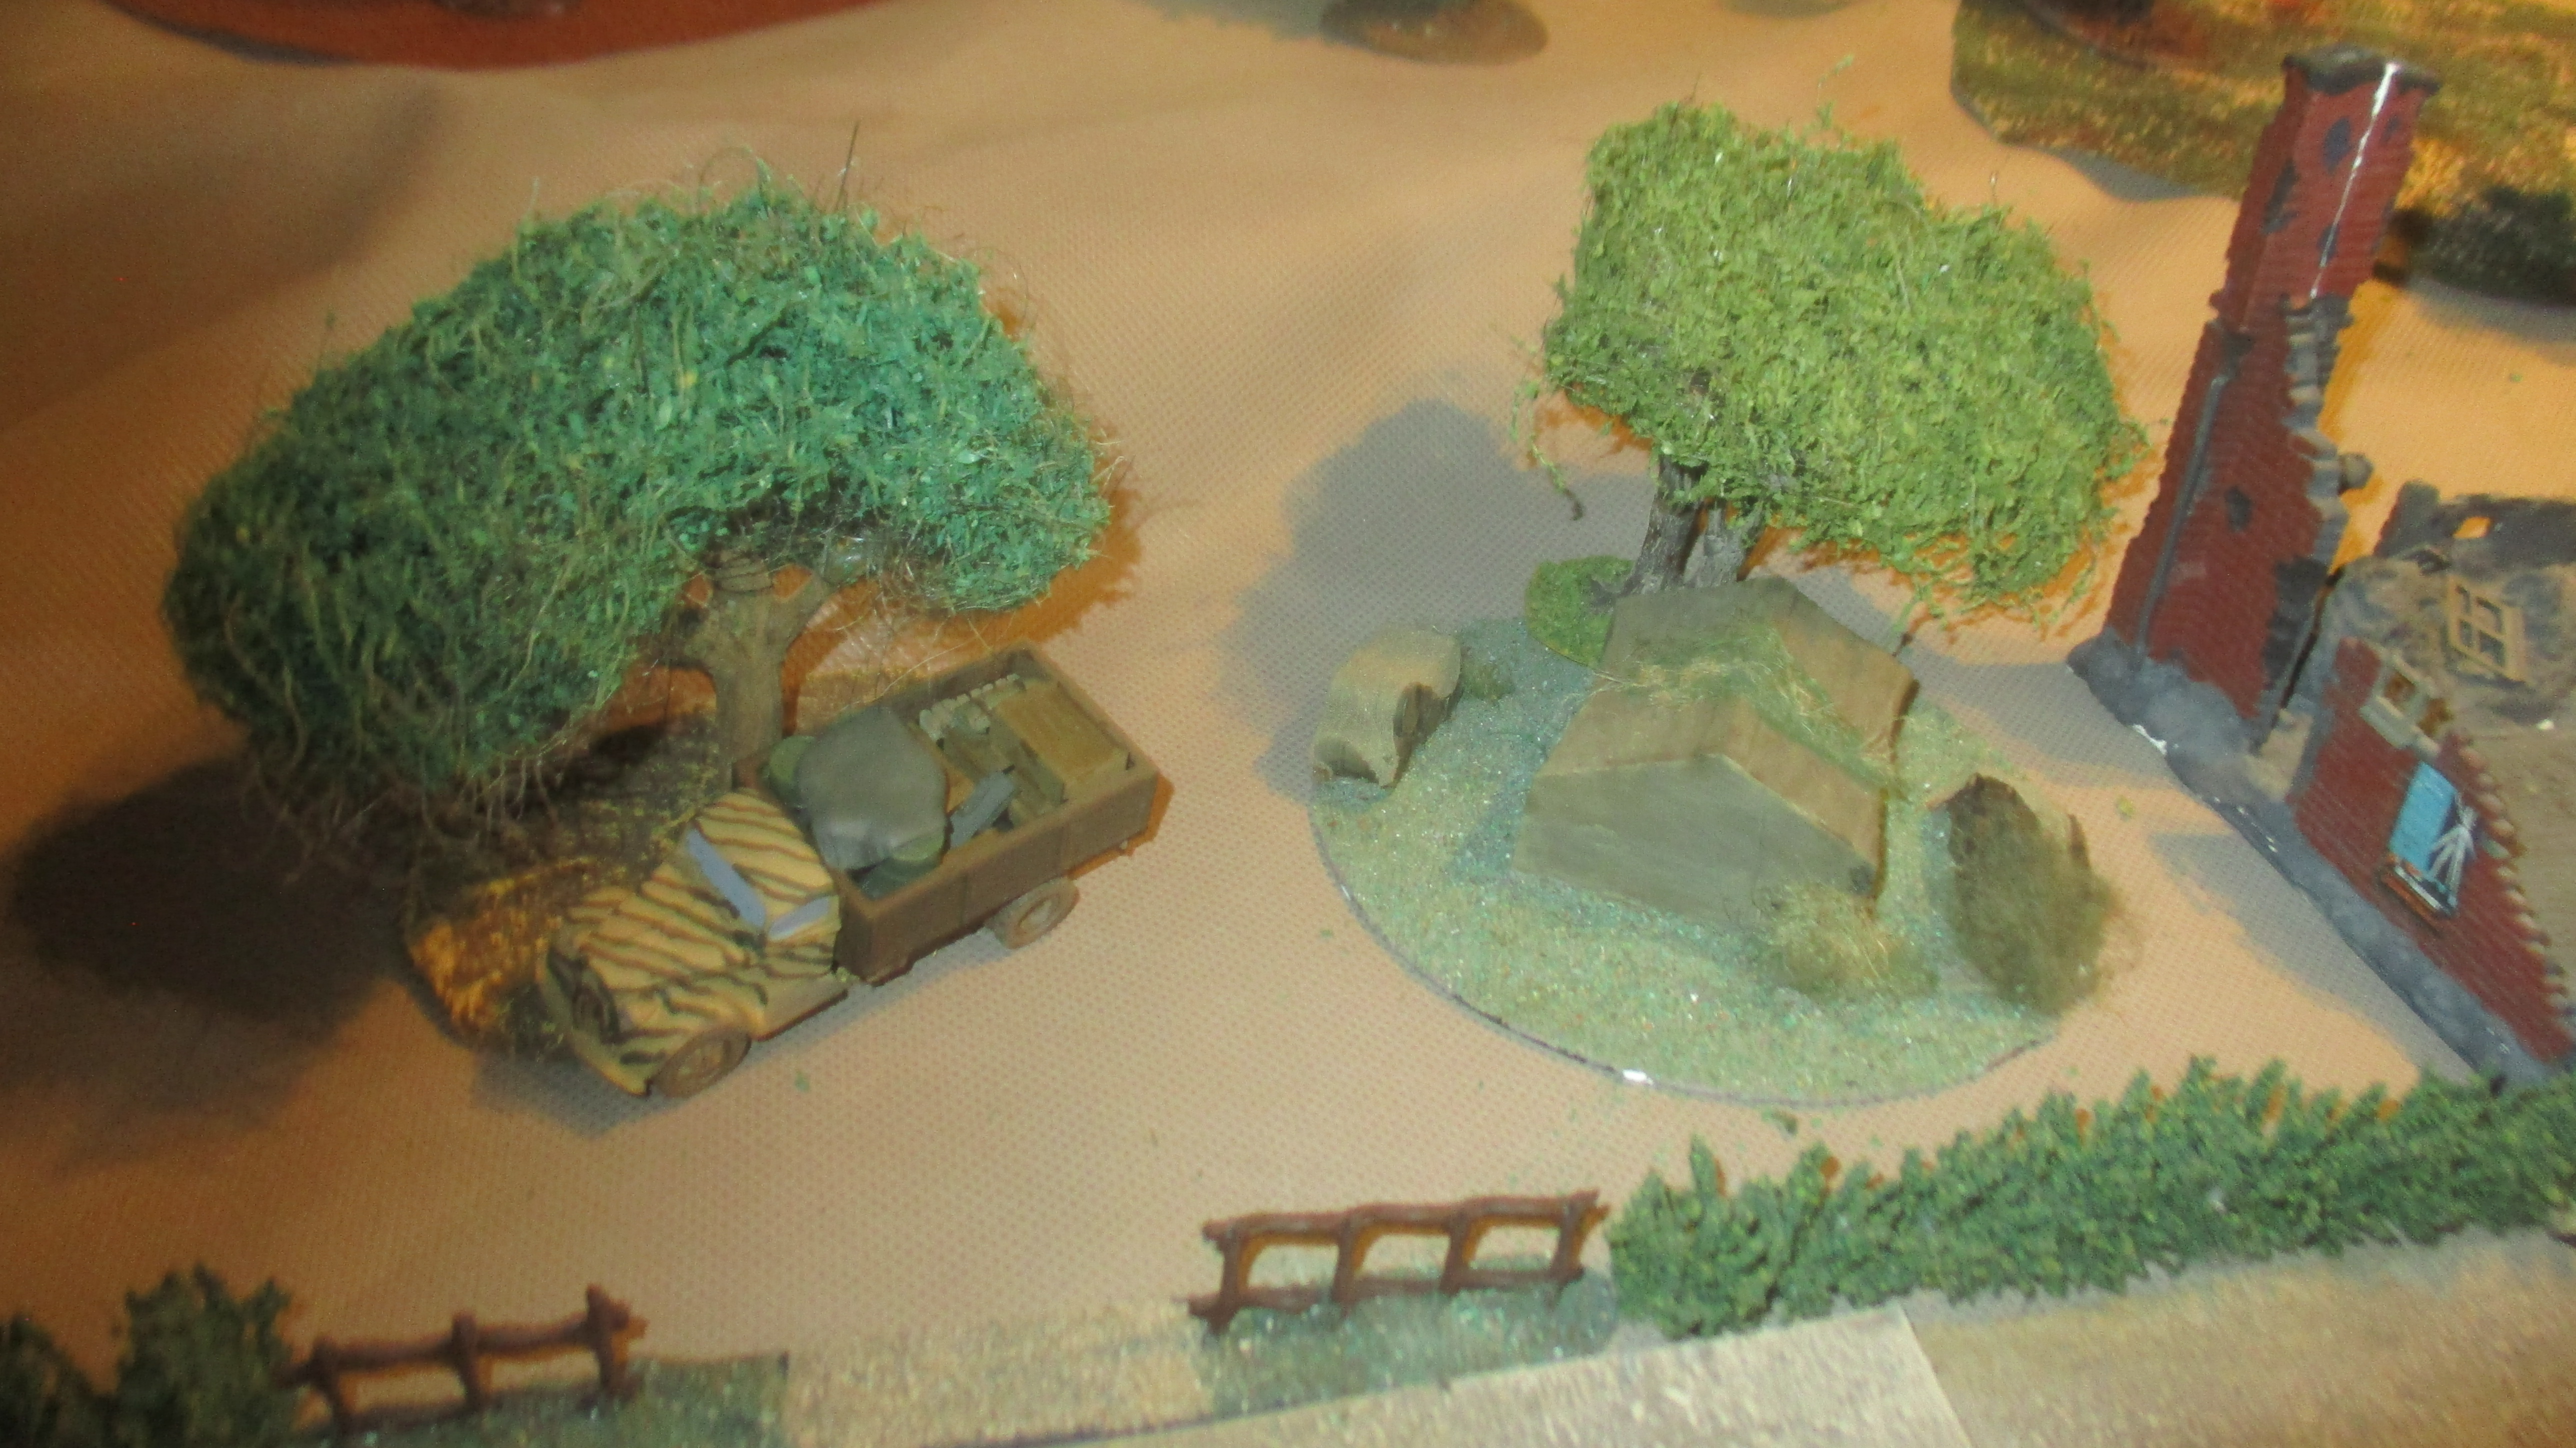
German supplies hidden among the trees
The US commander decided to deploy his cavalry as follows:
“A” troop plus an M5 straight down the road, followed by “B” troop (also
with an M5), but “B” would head down the back road once at the village, hopefully
flanking any German defences. HQ troop would follow “A” troop straight into the
village.
Meanwhile “C” troop accompanied by the M8HMC would proceed cross country
down the left flank, again hopefully outflanking any German defenders.
The Germans were spread among the village in 5-man groups, the majority
at the far end around the building being used as the HQ and the various supply
dumps.
“A” troop advances
“C” troop going cross country on the leftThese field police are about to have a nasty surprise
The Germans do have one nasty surprise with this 20mm AA in the village
square
The first couple of turns were just movement then “A” troop blasted
through the police road block followed by “B” troop, the field police and some
supply troops were just blasted away by machine guns and 37mm cannon fire, the
survivors just surrendered.
On turn 4 the lead Jeep of “A” troops is machine gunned losing its driver,
the troop commander and his RTO take cover, whist the M5 and M8 spray ambush
site.
By turn 5 the Germans withdrew having taken 50% casualties, "A" troop slowly pushes forward now with its infantry element dismounted giving the light armour close protection.
On the back road, “B” troop advance without meeting any Germans, the M5
in the lead spots a supply truck and gives it a 37mm shell – boom!!
Turn 6 “C” troops advancing on the left run into an ambush, their lead
Jeep is taken out by a panzerfaust!
Return fire plus the fact they were flanked by “B” troop on the back road
below broke the Germans morale and survivors surrendered!
Turn 7 The M5 leading “B” troop spots another German truck (the tow for the 20mm) and blows it
up!
In the village “A” troop slowly advance along the main street, firing at
every house and possible ambush site
Turn 8
The M8 HMC spots another cargo truck and lays a 75mm HE round smack on
target
The next 3-4 rounds saw “B” troop flanking most the remaining Germans in
the village, fire from the M5 scared the Luftwaffe gunners off their 20mm! The
M8HMC with “C” troop dropped several 75mm rounds around the German HQ building
and the M5 with “A” troop destroyed another supply truck!! The Germans either
surrender or flee!!
Unfortunately for the Yanks the M5 with “A” troop moved
ahead of its infantry hoping to catch the escaping Germans, and took a
panzerfaust round!!
At this point with the Yanks in control of the village I consider part 1
of the scenario completed. I`ll now re-set the table for the second half, stay tuned.