The landing at Saafi
Operation Torch , Morocco
This is a re-fight of a historically based wargame we did some time ago, I wanted to replay the game on our new larger table in Spain.
I’ve adjusted the forces involved to create a decent table-top game.
History
The main purpose in taking Saafi (Spelt “Safi
1. The port must be brought under control by seizing the docks and preventing sabotage, and by clearing the enemy from a deep beachhead around it.
2. The armoured elements on the transport Titania and the medium tanks on the seatrain Lakehurst had to be brought ashore and assembled for combat.
3. The line of communication had to be made secure for a northward advance.
4. The armoured force, in particular, had to hasten overland toward Casablanca using bridges over the Oum er Rbia River
To control the port and establish the beachhead, artillery batteries had to be neutralized and captured, machine gun positions cleared, the garrison subdued, and the arrival of French ground reinforcements or delivery of a serious air attack prevented by defended roadblocks and by supporting air cover.
The Safi
The light tanks attached to the two BLT's came from Company B, 70th Tank Battalion (Separate). The Armoured Landing Team consisted of elements of the 2nd and 3d Battalions, 67th Armoured Regiment (thirty-six light and fifty-four medium tanks), supported by two batteries of self-propelled 105-mm. howitzers, a provisional bridge company, signal and supply detachments - all from the 2nd Armoured Division. The sub-task force commander took his staff and headquarters from that division, as did Brig. Gen. Hugh J. Gaffey, who controlled the Armoured Landing Team through Headquarters, Combat Command B, and a detachment from Headquarters, 67th Armoured Regiment.
The plan called for a surprise landing inside the harbour itself by two old destroyers -Bernadou and the Cole. These ships would land companies K and L of the 47th Infantry, this being followed by landing craft depositing further men and light tanks at the beaches within the bay (designated – Blue, Red and Green).
Facing the Americans the French Garrison Commander Major Deuve had the following defenders available – a total strength of about 450 officers and men within Safi
Front de mer
2 static 75mm guns plus a defence platoon (all naval personel)
Point de la Tour
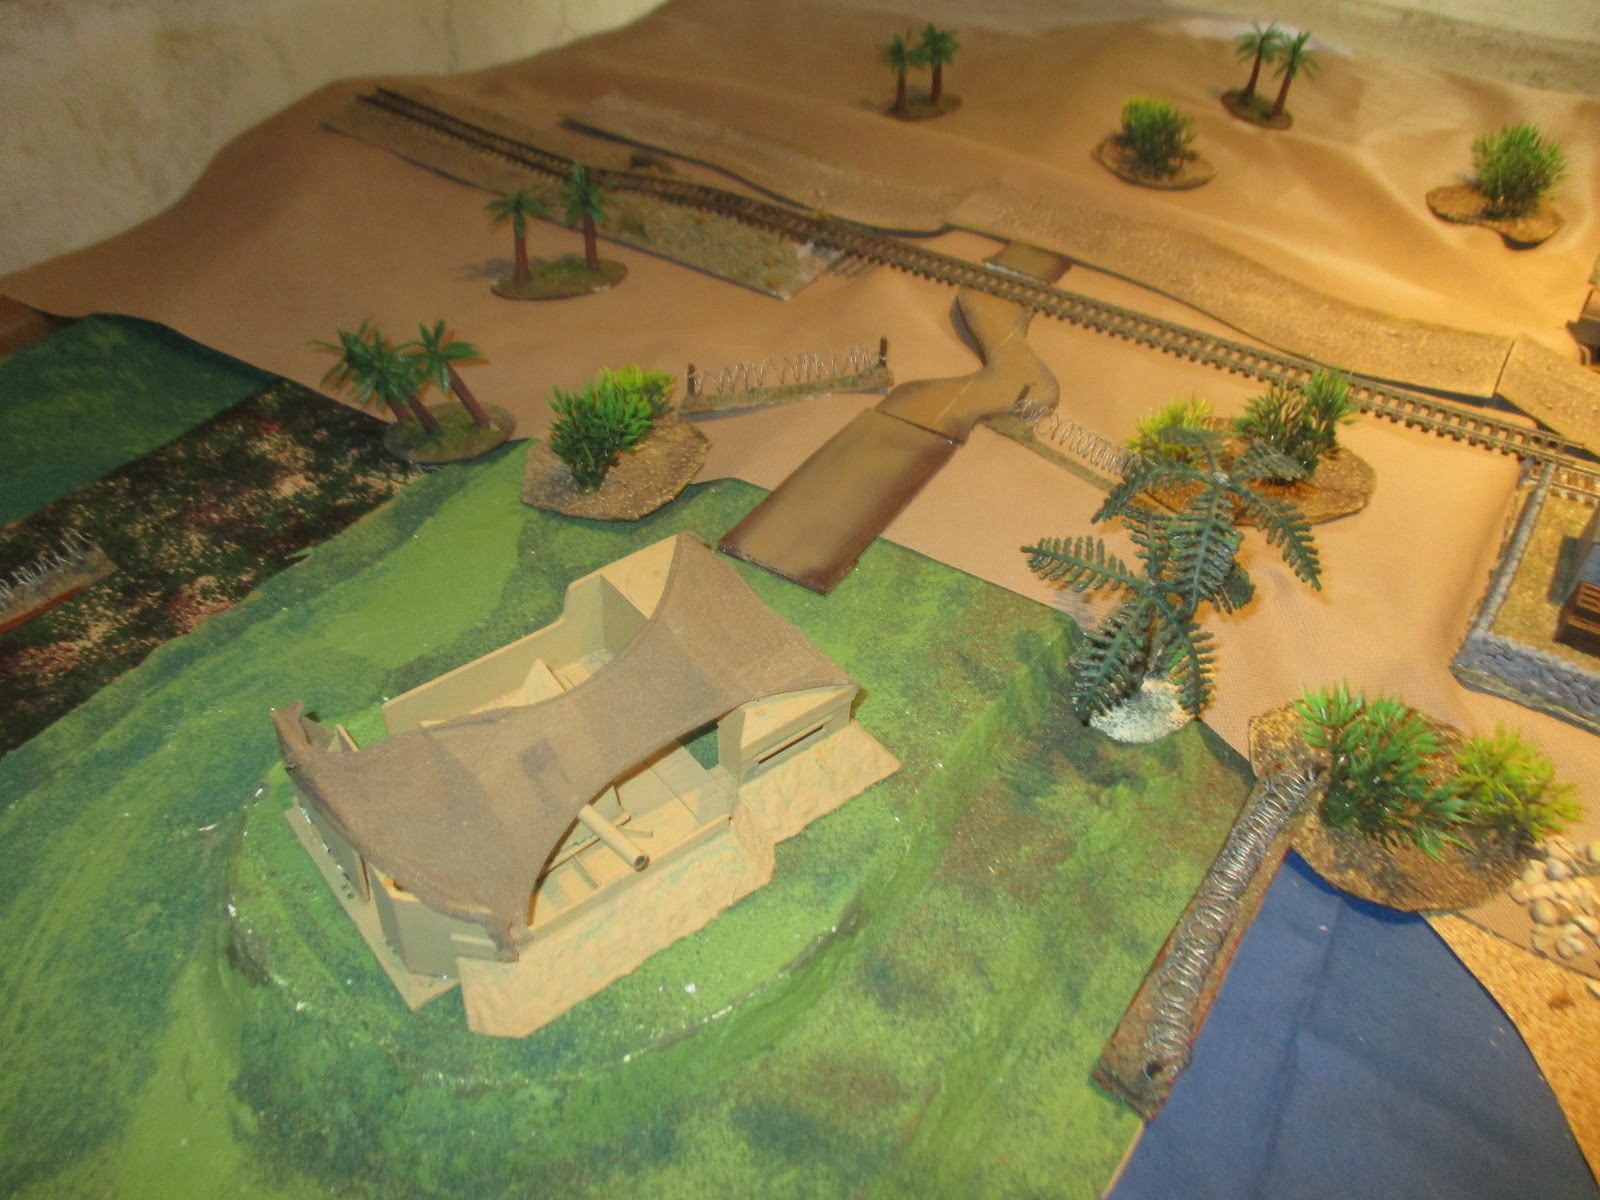
Coastal battery “La Railleuse” with 4 x 130mm naval guns with modern range finder and fire control apparatus (though two were inoperable); the guns in fixed circular emplacements. The entire battery is protected by AA machine guns and barbed wire, and manned by the 104th (coastal defence) company of the 2nd Moroccan Traillieur Regiment
High ground south of town
Two miles south of town (about half a mile in land)
A mobile battery of three tractor drawn 155mm guns (initially well camouflaged)
Within Saafi
A platoon of lt tanks,
5th company, 2nd Moroccan Traillieur Regiment
Other units including: horsed cavalry, lt. tanks and armoured cars, horse drawn artillery and infantry (maybe another 1,400 men in total) could be rushed to Saafi within 24hrs.
As a basis for this game I used Colin Rumford`s interesting version in the original Rapid Fire! rulebook and took several of his ideas onboard –
This is an amphibious coup de main and follow-up landing based on the Safi
Objective Points
Harbour area (a 2” square zone) compulsory (20 pts)
Post Office / Telecommunications Centre 10
Barracks 15
Station 5
Fuel Dump 10
Special Rules
The Harbour Assault
The Harbour Assault force moves onto the table on move one. French troops on the quaysides stand the following chances of detecting the attack: 20% on move one, 40% on move two, 80% on move three, automatically on move four. On detecting enemy vessels they may both fire and switch on their searchlight, which will inflict normal observation ranges on nominated craft. The Americans have one chance at shooting this out per move - evens on a d6 destroys the light. When all the crew, troops and vehicles aboard a vessel have been eliminated it is considered sunk.
Surprise
Only one third of the defenders are initially active. In the turn after firing has commenced another third may begin to move and fire. The remainder of the force then becomes active in the following turn. Inactive troops are restricted to buildings or tents.
Tank Landing
When a U.S.
Naval gunfire is represented in three stages.
The first, codenamed ‘Batter Up’, represents the destroyer Mervine ‘shooting-in’ the coup de main force. This consists of two observed rounds of 150mm artillery fire per move for a maximum three moves. Only French units or guns who have opened fire may be targeted.
The second, ‘Play Ball’, represents battleship New York
The third stage represents air-spotted fire from the cruiser Philadelphia U.S.
Air support consists of three daylight moves over the table for a Wildcat fighter from the carrier Santee .
US orbats
I`ve had a re-think about these and decided to revert to the older system -
4 man HQ plus 3 x 10man platoons each with: officer/NCO, grenadier, SMG, BAR, 4 x riflemen plus a 2-man support weapon team (.30cal MG, 60mm mortar or Bazooka) as this reduces the US flexibility and reflects better their inexperience at stage of the war.
FOR POLITICAL REASONS NO HEAVY WEAPONS MAY BE USED AGAINST
THE TOWN OF SAFI
French Support
The guns at Pointe de la Tour (the Batterie Railleuse) are represented by a turret mounted 130mm weapon and director tower in a single complex. It may fire one observed round per move once U.S.
Forces
US Forces
1st battalion, 47th Infantry, 9th Division - Col. EH Randle
1st wave
USS Bernadou – 105mm gun, 2 x 20mm, 1 x .50cal HMG
“K”, “L” companies each with:
HQ – CO, NCO, RTO, runner
3 platoons with: 10 figures (inc BAR & 2-man support weapon)
Each platoon has either a 60mm mortar, .30cal MG or Bazooka
1 platoon 504th Combat Engineers battalion
12 figures with demo charges, bangalor torpedoes & flamethrower
Landing at “Green” Beach
Landing craft with:
Recce platoon – Jeep w/radio, Jeep w/.50cal, 6 men, M3 lt tank
US first wave units

2nd wave (Red Beach
2 LCM with
“I” company, 47th infantry (as above)
DUKW
1 platoon 504th Combat Engineer Battalion (as above)
3rd wave (Blue beach) enters table 4 turns after 2nd wave lands
2 LCM with
“J” company, 47th infantry (as above)
DUKW
1 platoon 504th Combat Engineer Battalion (as above)
4th wave (to be decided by US commander) enters table 4 turns after the 3rd wave lands
2 LCM with - 2 x M3 lt tanks, 1 x GMC75
2 DUKW each with
1 platoon of 1st Ranger battalion
10 figs (inc BAR)
US follow up waves and Rangers

French Garrison
Batterie Railleuse
1 x 130mm naval gun (6 crew)
1 x 10 fig infantry platoon (VB grenade launcher, LMG)
Twin 13.2mm Hotchkiss AA
OP team (officer, RTO)
Front de le Mer
75mle1987 + naval crew
8 naval ratings (rifle armed)
High ground South of Saafi
2 x 75mle1897 + crews
French reserve
2 x 10 fig platoons (2REI) + Hotchkiss MMG team & 2 trucks
Barracks
Garrison HQ – Maj. Deuve, NCO, RTO, 2 runners + staff car
10 fig platoon (2REI) 1x LMG
Hotchkiss MMG team
Sniper
1 platoon 4RCA -
1 x Laffly armoured car
Petrol dump
½ platoon of Traillieur Maroccaine (5 figs inc 50mm mortar)
Station
1/2 platoon of Traillieur Maroccaine (5 figs inc VB launcher)
1 x 10 fig platoon Trailllieur Maroccaine (VB launcher, LMG)
Sniper
Searchlight plus crew
Remaining elements 5ere Traillieur Marocaine (about 1.5 platoons of infantry inc a VB launcher and a LMG)
81mm Mortar team
2 x Hotchkiss MMg teams
37mm infantry gun plus crew
1 platoon 64BCC with –
1 x Ft17
French gun batteries and Legion company

Moroccans and armour

Game fought over about 3 hours (18 game turns), I played the French, Alex and Chris the Yanks.
A few shots of our table
Saafi Harbour


Green beach within the harbour


Saafi town


Farm above the town


Station & oil dump


Landing barges (pretending to be LCAs)


The US approach was not spotted until turn 3, at which point the search light illuminated the Bernadou and warning sirens sounded. I rolled dice to see how long units took to organise themselves. The Bernadou`s 20mm Oerlikons smash the searchlight at the end of the turn as she glides into the warf.
Searchlight

Bernadou docks

The ship is immediately confronted by the Front de le Mer position and its defenders (I had ruled they were concealed from the sea until they opened up)

The `75 fired at virtually point blank range into the hull causing casualties among the infantry crowded below decks, the naval troops poured rifle fire onto the deck. The ships guns returned fire, whilst the first assault troops jumped onto the jetty.
Meanwhile the recce units landed on Green Beach, the Stuart stalled (ended up stuck for 3 turns)


Turn 5: The ships guns blast away the Front de le Mer position, the last few surviving sailors retreat back to the station; they and their `75 did some damage. The US infantry are now engaged with the Moroccan platoon defending the harbour.

The US recce run head on into the 4RCA armoured car and in a brief exchange of fire, lose both Jeeps, but manage to disable the cars engine with .50cal AP shells, the cars crew make a morale check and their vehicle became a pillbox.
Turns 6 & 7 saw the ships guns and infantry clear the Moroccans out of the harbour, the Moroccans in Saafi itself began moving toward the harbour and their Ft17 engaged the stalled Stuart on Turn 7 (its first round failed to penetrate) .

Turn 8 Batterie Railleuse & the concealed `75 battery in the hill farm both finally wake up and join in with the defence!
The battery on the hill was a nasty surprise for the Yanks!


Both batteries poured fire into the Bernadou and jetty, the ship took several 130mm and `75 hits over the next few rounds causing a lot of casualties.

On Green Beach the Stuart commander decided to ignore the Ft17 and drove out of the water up into the harbour to engage the 50AM (now pillbox) - the two allied commanders argued this point, but Chris claimed he was right and promptly destroyed the pesky 50AM......... Unfortunately the Ft shot him up the arse and disabled him too.........


Turn 9: the 2nd wave arrives at Red beach

It is immediately engaged by the defenders of the station and the infantry protecting Batterie Railleuse!
At the Harbour the Bernadou takes another 130mm hit and the dock/jetty is hit by both the 75s up at the farm and 81mm mortars from the town. Offshore naval fire wipes out the hillside battery at the end of this turn; but the US players are frustratingly unable to call fire onto Batterie Railleuse. The US infantry and recce troops are engaged at the harbour by Legionnaires coming from the barracks and by truck from the farm.

Turn 9, The Bernadou takes a catastrophic 130mm hit and begins to sink! The dock and jetty is still under mortar fire and the Moroccans add MMG into the mix too causing multiple casualties and morale checks! But the US has now cleared the port of all defenders.

"I" Company and the engineers over-run the station defenders and move inland towards the fuel dump, still engaged by the defence platoon of Batterie Railleuse.

Turn 10 sees the Bernadou sink, removing its deck guns from the US hand. Batterie Railleuse sights the incoming 3rd wave and looks forward to shooting pigeons! Unfortunately, finally the US players call in offshore guns and the battery is hit!
Turns 10-12 sees further hits finally destroy the battery!
At the harbour the US infantry, recce troops and engineers begin a long drawn out defensive battle with the French counter-attack!


"I" Company and the engineers kill or drive off the defenders of the fuel deport and battle against the Battery defence platoon.


"J" Company plus engineers land unopposed at Blue Beach


Turns 13-16
The French launch a desperate all-out attack against the harbour, this is met with desperate US defence including a flamethrower and thrown satchel charges, but the Legionnaires triumph! But at the cost of almost every officer and NCO, leading from the front of course and showing great élan, but little sense........


"I" Company drives off the last survivors of the battery defence platoon.
The US 4th wave moves across the water towards the shore


The Rangers and armour lands at Blue Beach on Turn 18, the French have limited forces left and no officers or NCOs close enough to organise their defence, so we called it a day - victory to the Americans.
Great game, the larger table roughly 10` x 4`, made it a very wide frontage, this made it difficult for both sides, the US players found their landings isolated, whilst the French lack of transport and the need to hold the harbour prevented them from moving troops from one end of the table to the other.


