French Counter Attack at Merdjayoun
Syria 16th/17th June 1941
Merdjayoun was captured on June 10th, the Australian 25th Brigade pushed on leaving detachments to hold the area.
The allied advance through Syria was over four separate routes, with little ability to shift troops quickly from one to another. The Vichy commander quickly realised he was facing far less troops than had been expected and so after a few days planning took full advantage of the widely spread Allies and launched a series of sharp counter-attacks from June 14-16.
The Australian commander at Merdjayoun, Lt. Col. Monaghan decided to launch a pre-emptive strike of his own and on the night of 14/15 June led his 2/33rd Battalion out of the town on a wide outflanking march to catch the French off guard. Unfortunately the actually took his forces out of position and allowed the French to attack the town itself!
As can be seen on the map below the allied (mostly Australian) forces were set up along a line roughly parallel to Merdjayoun.
2/33 Battalion RAA moved to the east of the town to cover the two tracks/roads leading north (routes "A" and "B" on the map) but also Hasbaya and Fort Christofini; both of which were occupied by French troops. They were supported by elements of 6th Cavalry, Vickers machine guns from 2/3rd Machine Gun Battalion, AT guns from 2/2nd Anti-tank Regiment RAA, Bofors from 47th LAA and 10th Field Battery of 2/5 RAA (25pdrs) situated in Merdjayoun.
A company from the fresh 2/5 Infantry Battalion was moved up to occupy Merdjayoun itself with troops from the Royal Scots Greys and Staffordshire Yeomanry acting as infantry picketing the ridge above the town.
Further west 2/2 Pioneer battalion dug-in along the banks of the River Litani to protect the left flank.
Map

I decided to bathtub the allied orbats and created a straight forward attack/defence game, based around the French counter-attack on June 16th.
For this game we expanded our table which is now 10ft long and varies in width from 4ft at the French eastern side to 6 ft at the Merdjayoun side.
Table looking towards Merdjayoun from the east

Junction of routes "A" and "B"

Route "B"

Merdjayoun


View towards Balate Ridge

View from the ridge towards the town

Allied forces
Town defenders: 10th Field battery 2/5 RAA & 2nd Coy 5th Infantry Battalion RAA behind

2/33 Infantry battalion plus support, 6th cavalry can just be seen back right

RAAF Hurricane

Australian 6th cavalry

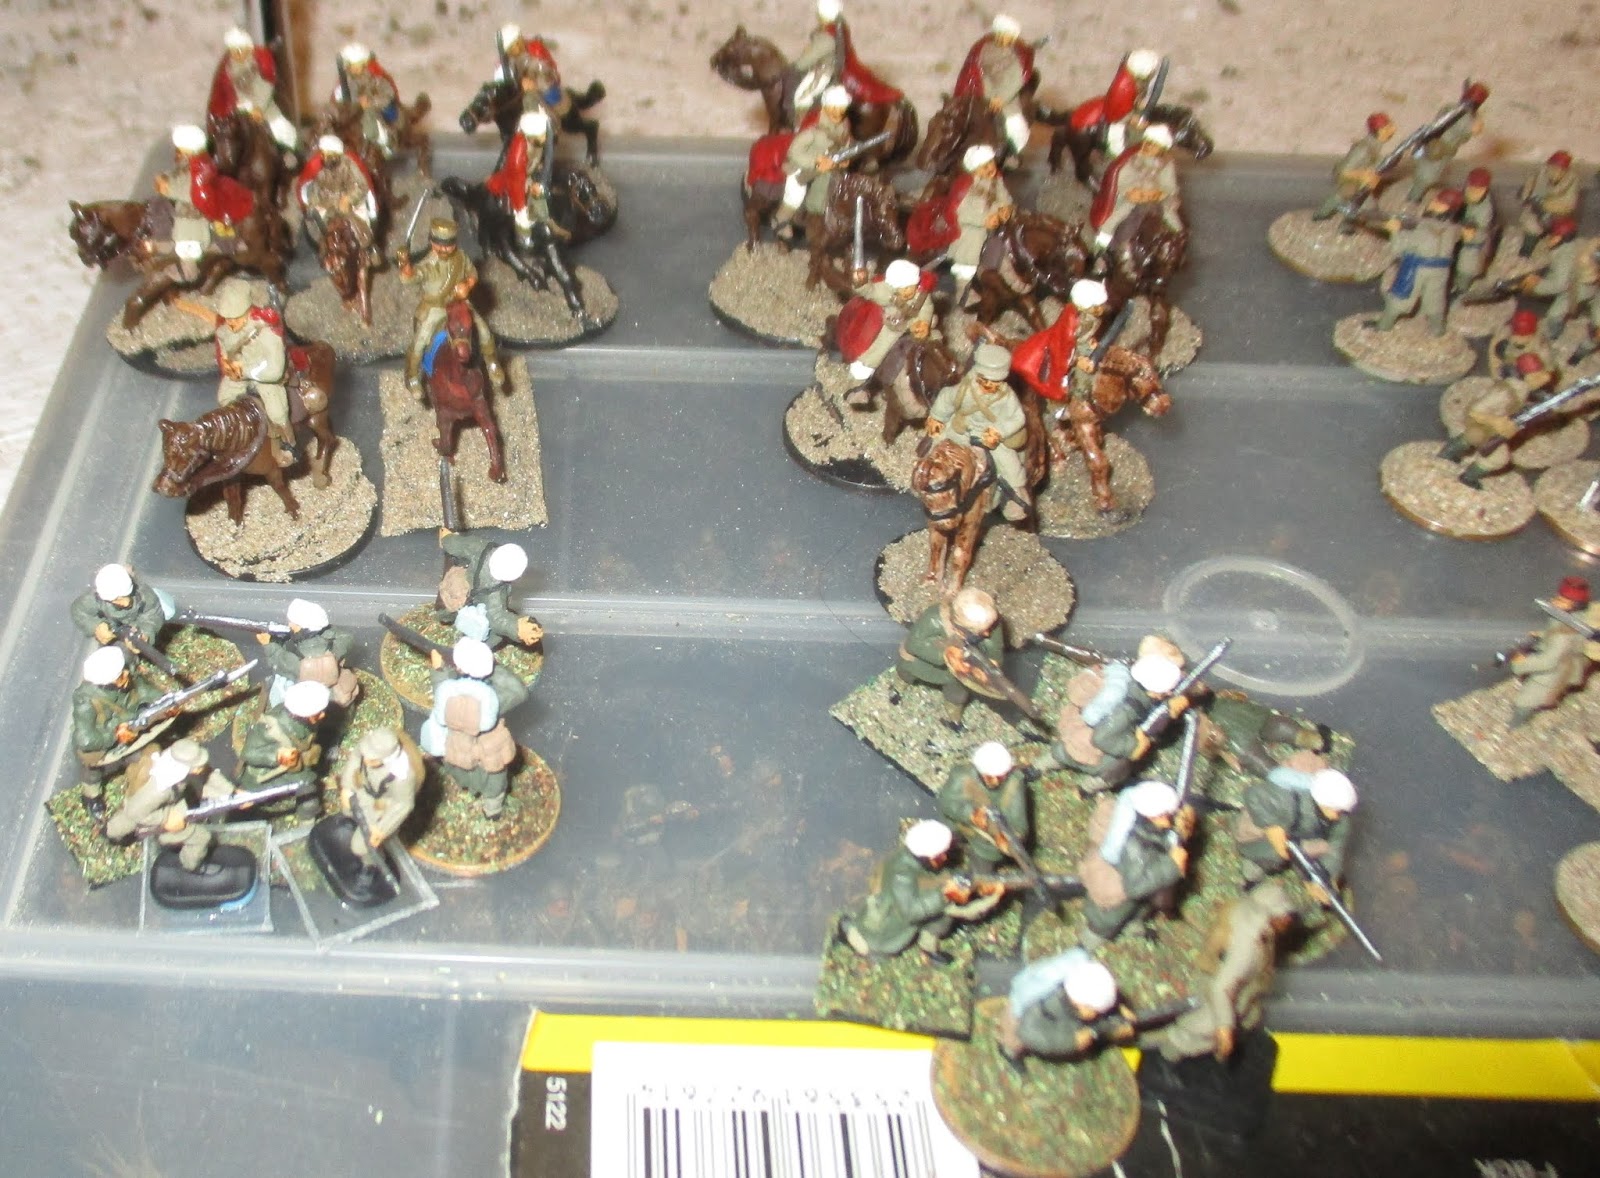
Vichy Forces
Route "A" column with Levant militia cavalry, 6th Foreign Legion infantry and elements of 6th/7th Chasseurs d`Afrique


Route "B" column with: Mixed Chasseurs motorised units, Syrian Gendarmerie and Algerian Spahis cavalry

SCW Regulares doing a fine impression of Syrian Gendarmerie

Algerian Spahis (the Moroccans in front will act as dismounted Spahis)
Dewoitine D520

Battery "B" 86th RAA (Regiment Artillery d`Afrique)

Balate ridge ground attack
Levant militia


Game played over 3 hrs (20 game turns), I played the Vichy, my lads Alex (21) and Chris (18) played the Allies.
The game began slowly with the Vichy infantry climbing up towards Balate Ridge and their columns advancing down both Routes towards the waiting Allies.
Staffordshire Yeomanry dug-in on top of the ridge

Royal Scots Greys further back on the ridge

10th Field Battery RAA set up in the centre of town

2/33 Battalion Australian Infantry await the motorised units


The Aussie artillery scores first taking out a Laffly armoured car with its first salvo

Algerian Spahis spread out to avoid the artillery

Ft17. 75Bis advancing down route "B" with Syrian Gendarmerie
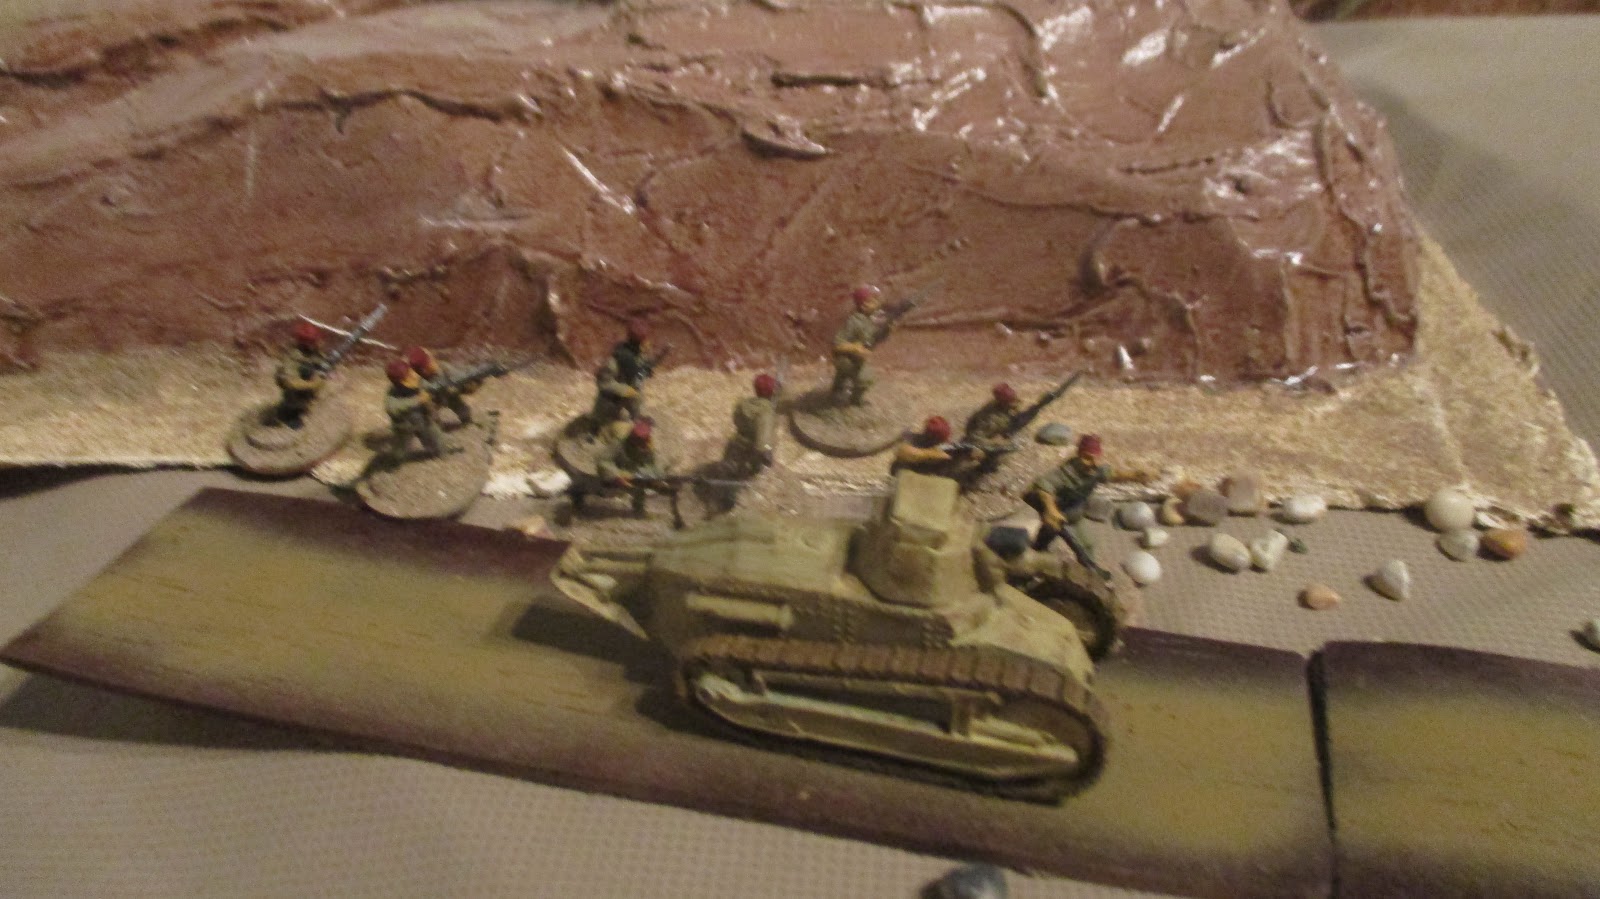
FT17 supporting Syrian militia on Route "A"

24th Colonial Regiment plus Syrian militia advance against Balate Ridge


The colonial infantry struggled over the terrain climbing the Balate Ridge under Bren and 2" mortar fire from the well dug-in British cavalry, the Vichy Hotchkiss and 80mm mortars found few targets initially among the sangers and slit trenches.

The two columns got bracketed by the 25ldrs and then the lead vehicles got targeted by the dug in Aussie AT weapons and the militia/Algerian cavalry were forced to dismount and take cover rather than ride into concentrated Bren and rifle fire.
The Vichy brought up a montee `75 to support their advance along route "A"

The Australians withdraw from the front positions

The Vichy advance
Chasseurs d`Afrique motorcycle troops and militia, 6th Foreign Legion in the background

Closer look at the legionnaires

2nd troop of Algerian Spahis look for the Aussie flank

1st troop of Spahis advance on foot

Even though the Australians were hard pressed their AT assets did sterling work
Vichy armour burning


This R35 took a critical hit from a Boys AT rifle!

By turn 8 the colonial infantry had reached top of the ridge, but were totally exposed to fire from the Scots Greys and Aussies from 2/5th Infantry which had moved out of the town up onto the lower ridge. The 25ldrs also added their fire - the ridgeline became a kill zone, forcing half the Vichy down into the west most valley, the rest unable to move forward or backward without exposing themselves to devastating fire.
Turn 10 saw the arrival of 6th cavalry

Unfortunately the colonial artillery finally set up and were ready for them.

Turn 11 saw the Algerian Spahis breakthrough 2/33 centre

and both sides welcomed air support
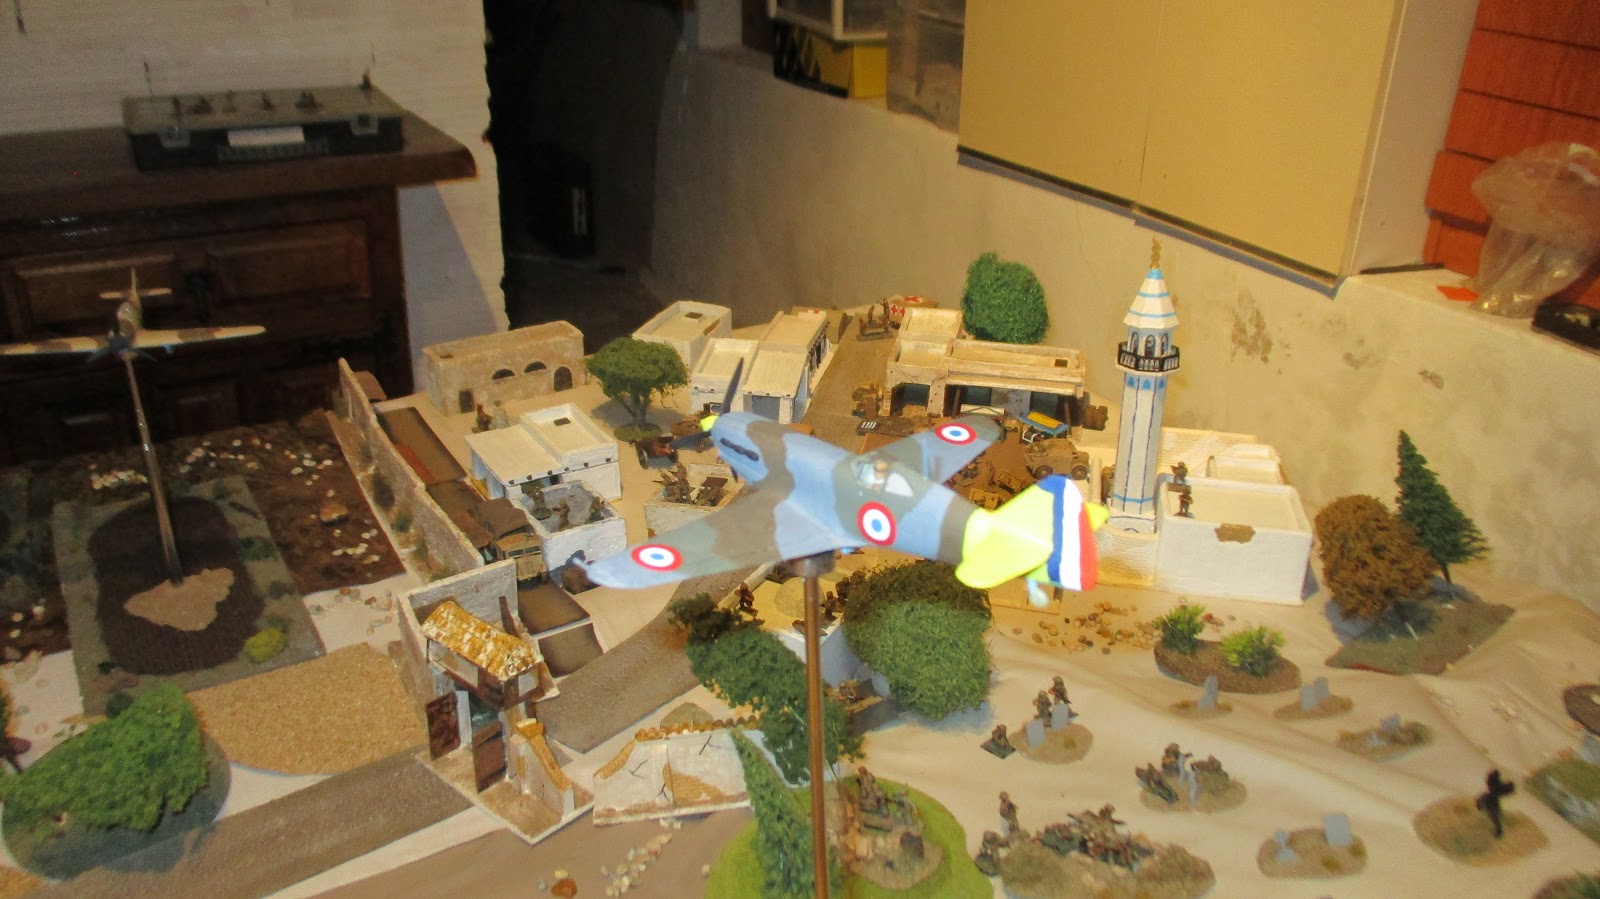

Who spent two turns dog-fighting before flying home.....
During turns 12-15 the 6th cavalry counter-attack was shelled to bits, whilst 2/33 having lost all its AT assets fled the rampaging Spahis cavalry


Turns 16 - 20 saw the Vichy finish off 2/33rd and the 6th cavalry, but without armour they just didn`t have enough weight to threaten Merdjayoun and so the game ended.
The Vichy just didn`t have enough, the colonial infantry just couldn`t come to grips with the ridge defenders quickly enough maybe in a re-run we`ll give them a couple of turns of early movement before dawn or some flanking moves (off table) or possibly they needed more support, half the field battery maybe?
The armoured columns just had bad luck and the Australian dice roles were very good - ah well these things happen :)
Overall a good game, and a tactical win for the Australians, they did better than their historic counterparts.
Great stuff Richard, a battle I have never heard of well done. Good to see the Aussies stick in for a win!
ReplyDeleteAll the best with your Projects and Plans in 2020
Cheers
Matt
Moving to Spain for good in July 2020, very busy until then....
DeleteI second Matt's comment - had not heard of this battle before and good to see the Aussies getting an even better win than historically!
ReplyDeleteBasically the Aussies and Brits ran away historically faced with overwhelming odds. I allowed the defenders some AT assets and prepared defenses - it made quite a difference.
DeleteThat looks like it was a great game- lovely photos.
ReplyDeleteCheers,
Pete.
Thanks Pete, we`re experimenting with larger games, ironing out the kinks :)
DeleteGreat game! Do you have a consolidated order of battle for this one?
ReplyDeleteAlso, what rules do you use?
Well I have my scenario notes somewhere - I`ll try and dig them out for you - let me have your email?
ReplyDeleteWe use a version of Charles Grant`s "Battle" rules - the first real set I discovered way back in the 1970s - the grandfather of Rapid Fire! They work at the level of game I like to play, my boys were brought up on them :)
What figures did you use?
ReplyDeleteA huge mixture of manufacturers plus my own conversions, what units are you asking about (narrows down the list). My Aussies/Brits are a huge mixture of various plastics, Reiver Castings Brits, Britannia/Grubby 8th Army and Aussies in bush hats, some old Wartime Miniatures and other odds`n sods mixed in too.
Delete