Battle of Corruna
Buoyed by his success at San Christobel
Colonel Jesus Razza has decided to push on with his offensive and attack the next major town west along the rail-line towards the state capital Ciudad Victoria. He hopes another stunning victory will demoralize the forces of the military governor – General Pedro Ramirez Diaz and lead to a speedy and total state-wide victory for the revolutionary army.
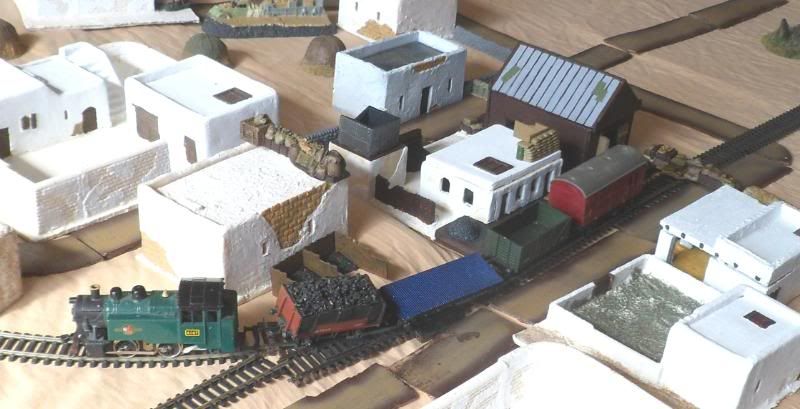
Corruna is a small rural town with little or no strategic value and no industry. The rail line has a stop there for the local sugar and grain farmers to get their goods to the rich markets in the capital or to the port at San Christobel. Col Razza’s spys tell him that the town is garrisoned by a company from the local Federal regiment and that they have no artillery.
Col Razza’s forces
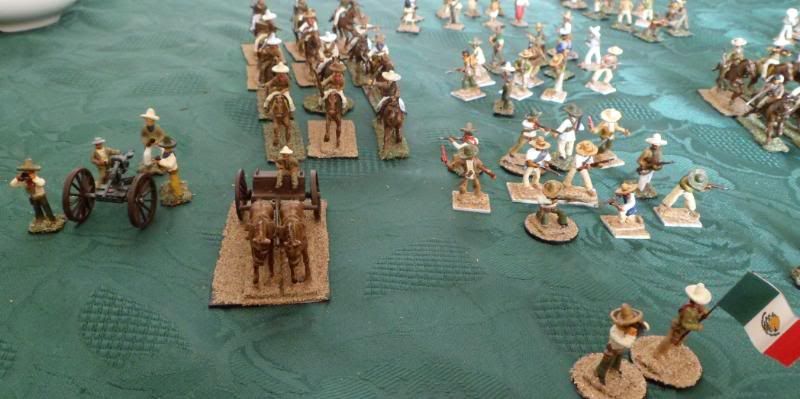
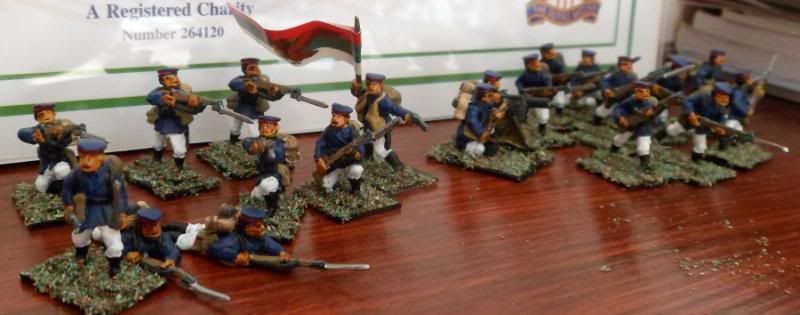
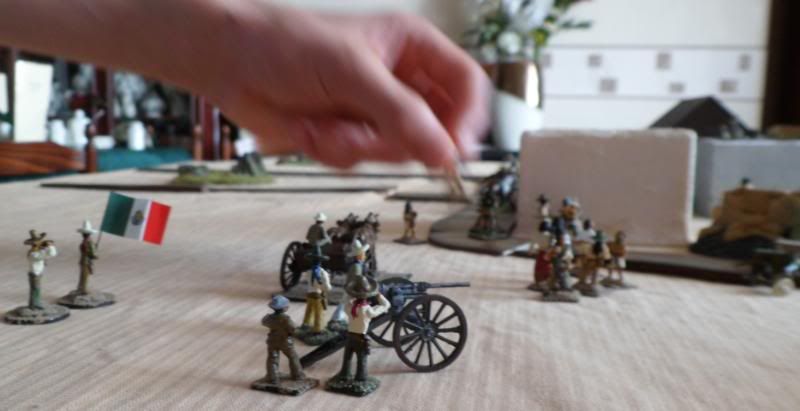
4 infantry units (12 men each)
2 mounted units (12 men each)
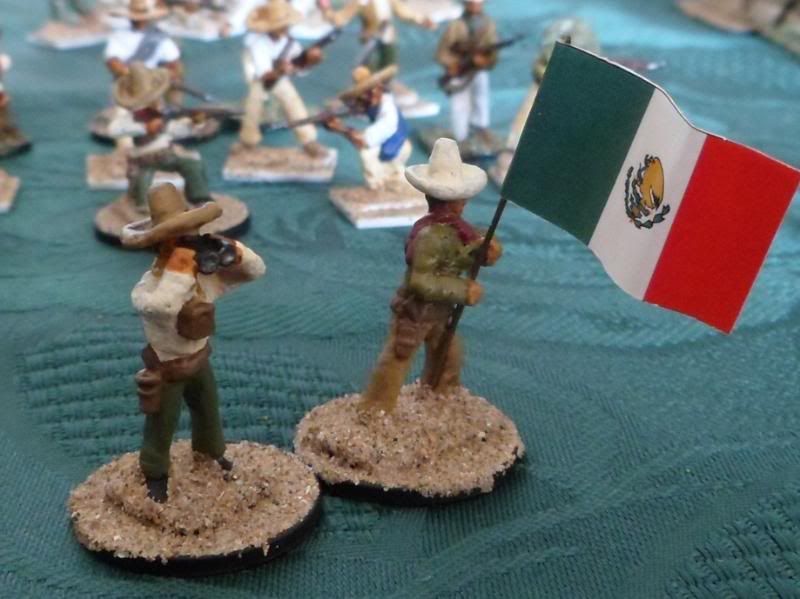
Chicas del Muerta (8 girls with guns)
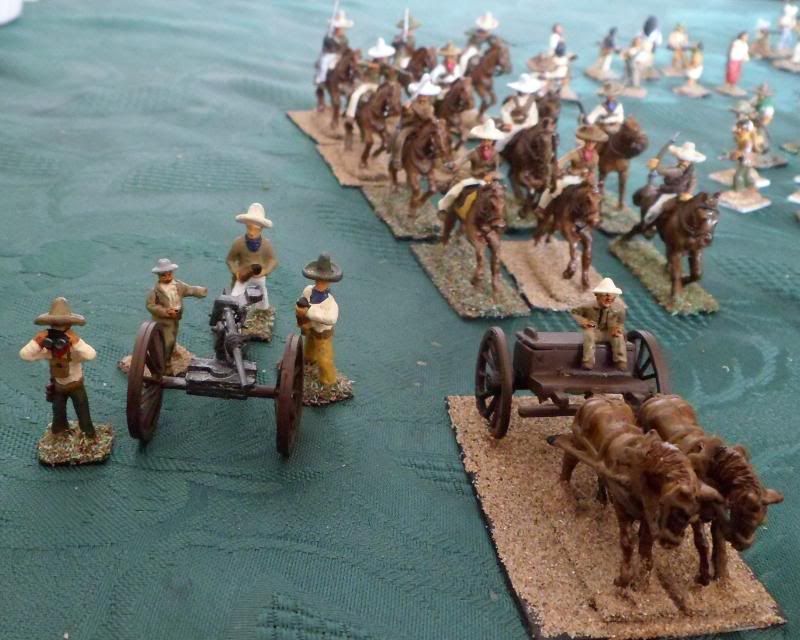
1 x 37mm Hotchkiss pom-pom + 4 crew & limber
1 x Colt MMG + 3 crew & mules
Unfortunately unknown to Col. Razza (or his spy) a train has arrived from the capital and brought a nasty surprise.
Many months ago with the revolutionaries gaining ground all across Mexico, President Carranza looked abroad for aid. From Germany he was sent a military mission led by Colonel Graf von Bratwurst, to whom he gave a commission in the Mexican Army (Captain-General) and put him in charge of the Army Cadet School at Ciudad Victoria.
The Federales also have spies, General Diaz has heard about Col Razza’s planned attack on Corruna, to prevent it, he has ordered von Bratwurst to take his best trained cadets by rail and defeat the revolutionaries but halting their advance on the capital.
Von Bratwurst, his cadets and the local Federals have spent several days building barricades and setting defences, all this will come as a nasty surprise to Col. Razza and his bandits!
Corruna defenders
Federal company – 3 x 10 man units (all rifle armed)
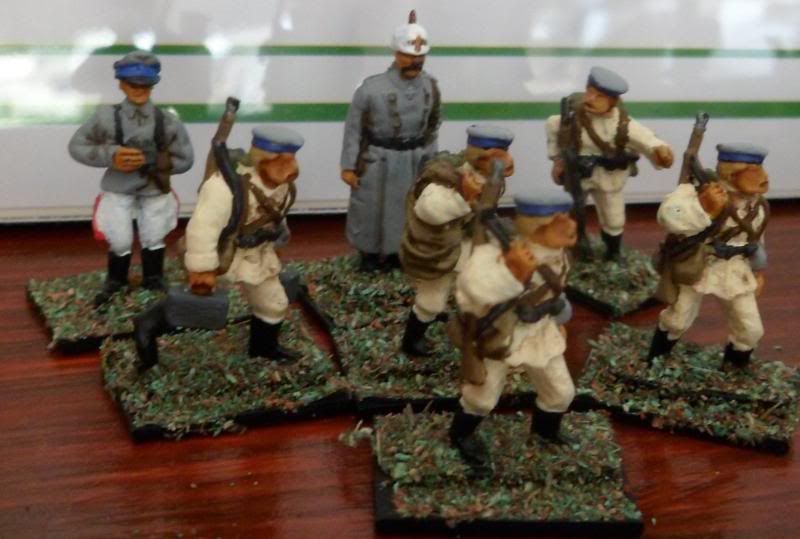
Col. von Bratwurst`s command
Bratwurst, aid, veteran NCO, 4 veteran soldiers (all German)
1st cadet platoon (officer, standard, 7 men) well trained
2nd cadet platoon (officer + 8 men) well trained
Maxim team (well trained)
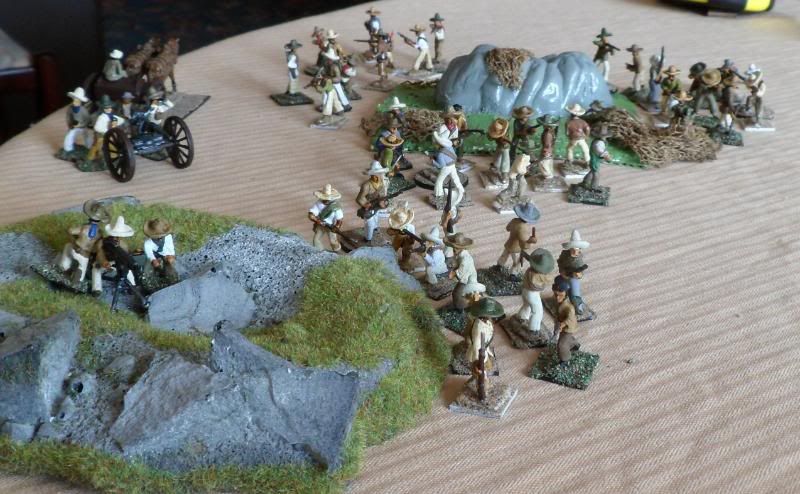
Col. Razza`s forces
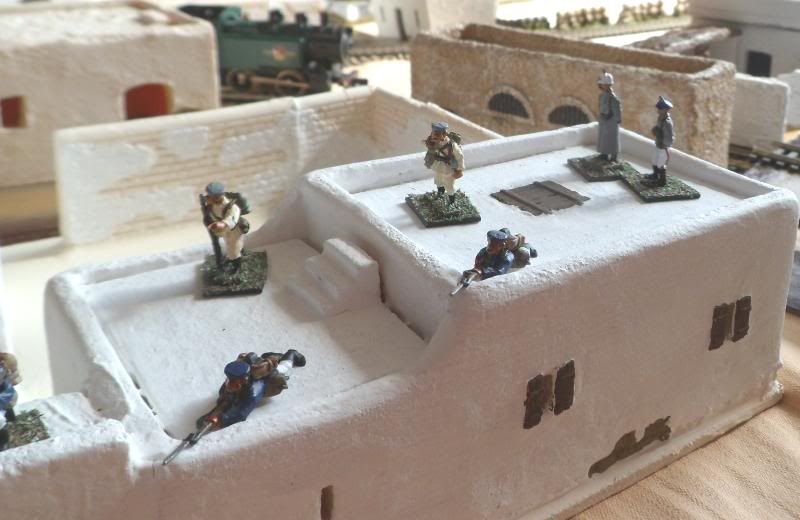
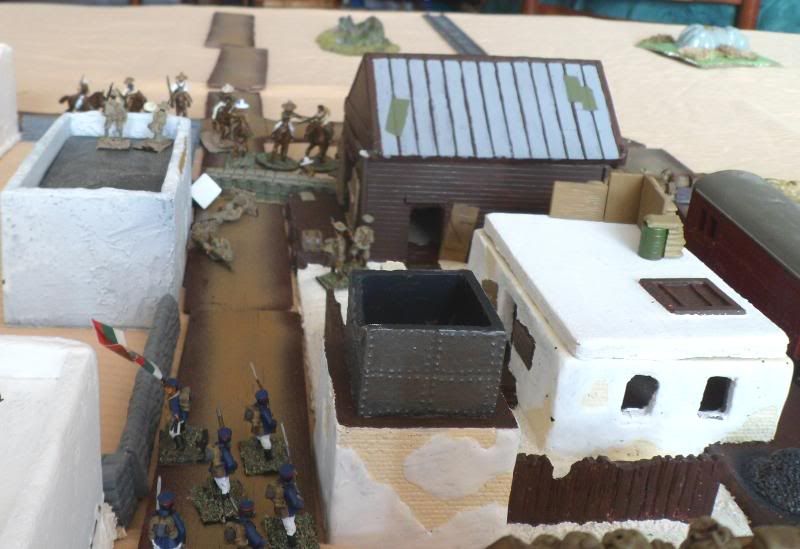
Corruna
This is the Revolutionaries board entry, showing the outline of the Federal defences
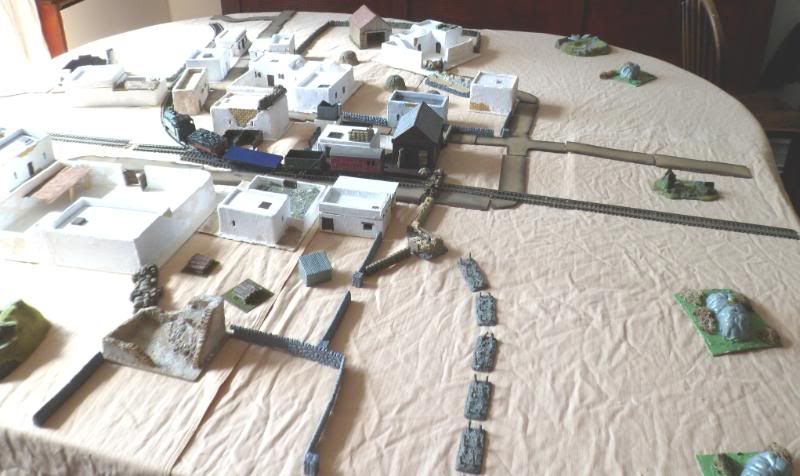
looking into the town
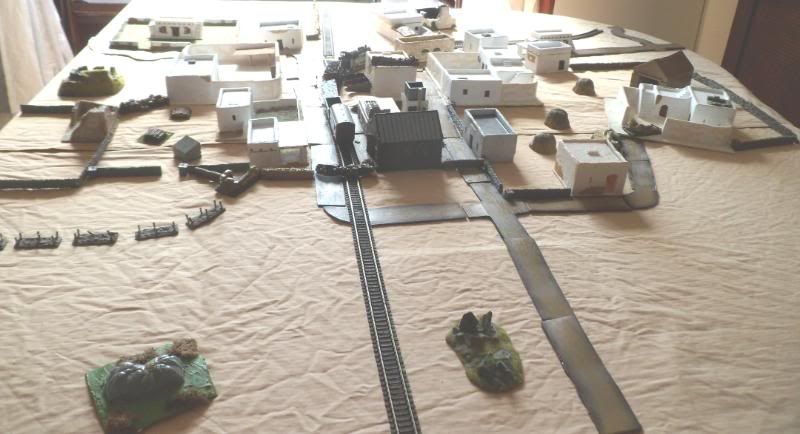

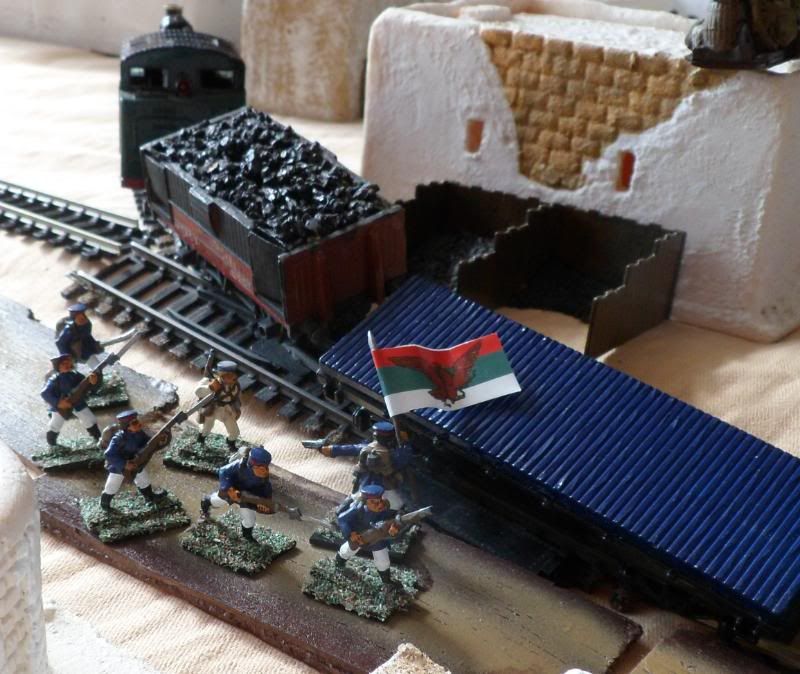
rail station
Mexican Army cadets (Tumbling Dice early WW1 Germans with conversions)
German military advisors
The initial moves after dispositions had the Federals spread out across the town with reserves and fall-back positions planned.
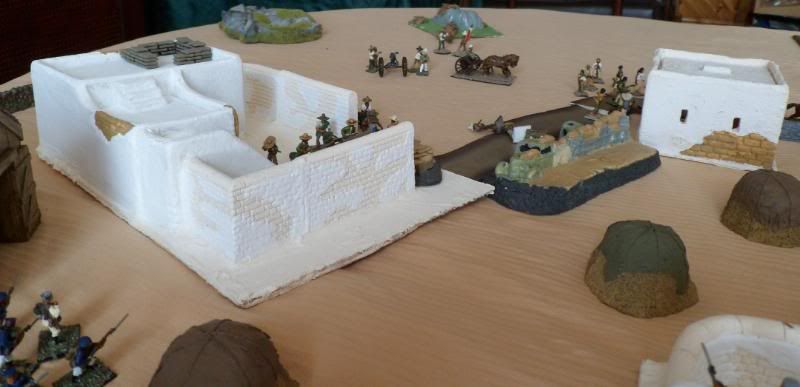
Col. von Bratwurst at his HQ
The Rebel commander – my eldest Alex (14 next month) decided to concentrate his attack and threw his entire force at the right flank, thus screwing up all my careful defence plans!!!!!
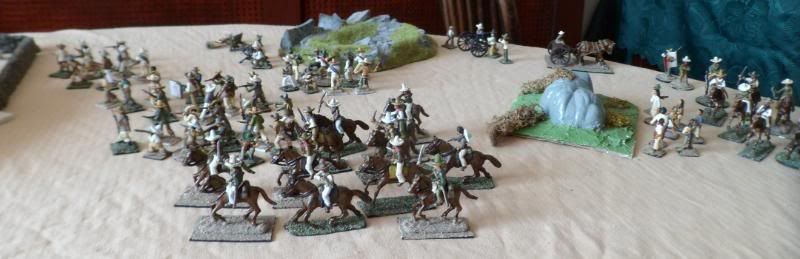
whilst his infantry engaged my defenders, covered by his MMG and 37mm, his cavalry rushed back and fore firing from the saddle, until an opening was spotted in the centre (after I`d tried to rush defenders from right to left), when the cavalry then rushed around and attacked the now weakened centre! The cadets swung into action supported by their own Maxim team and the German advisors, these inflicted serious casualties, and slowed the rebel infantry for a while. Then a lucky shot from the 37mm killed the entire Maxim team and with others federal troops suppressed by the MMG and rifles the left-side defence withdrew. At the same time a wide flanking move around the far left side of the table threatened to envelop the HQ and remaining cadets on that side too! The remaining Federals and cadets in the centre fought hand to hand against the rebel cavalry, slowly being forced back past the station. At this point von Bratwurst ordered a general retreat to save what remained of his cadets and advisors – victory to the rebels, Viva la Revolution!
Infantry & cavalry engaging my left flank
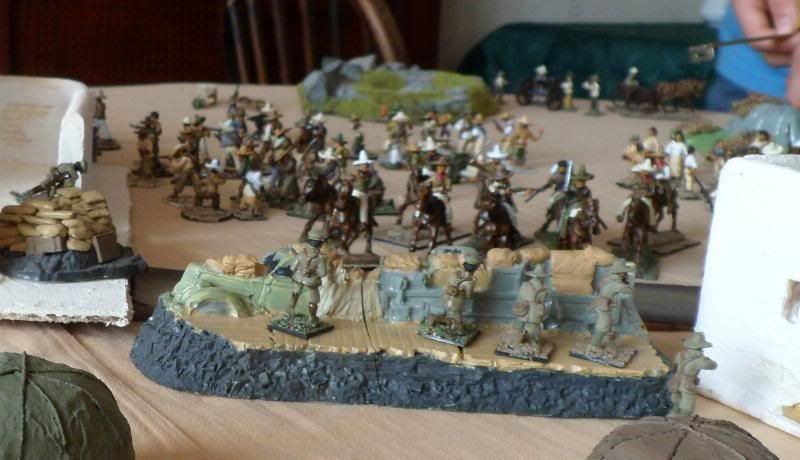
37mm Hotchkiss pom-pom (scratch built) supporting the attack
Cadets moving across the table (right to left) to aid the battered left
Razza`s cavalry now engaging the centre
Cadets withdraw from the left back past the HQ (in the foreground)
Good game, Alex`s tactics were influenced by his playing 40k, he would have suffered badly if the defender had, had artillery.
Hi Richard- really like your Terrain and Buildings and Figures- a very good read interesting Scenario. Thanks. KEV.
ReplyDeleteThank you, I really must put a more effort into my terrain, one day when I have time :-)
ReplyDelete