Hir Moussa
Tunisia 19th
January 1943
Map borrowed from Spivak & Léoni`s "Les Forces Francaises dans la Lutte Contre L`Axe en Afrique
This is actually
the 5th
game of an Operation
Eilbote I mini campaign I started years
back which follows the advancing German columns driving through the
Eastern Dorsales. All can be found here on the blog, technically this
scenario is game 3 of Kampgruppe Lüder`s advance and using larger
scale rules (Rapid Fire! as an example) you could link the games
together on one tabletop. Over the years
since I started writing this mini-campaign more information has come
to light and I have re-written this particular scenario several times. The basic
game is a German attack Vs now allied, ex-Vichy French, in what should
be a very one-sided game, but the interesting mix of forces makes for
a visually different game.
Background
Early in January, Kesselring decided he was not
going to allow the allies to build up and probe von Arnim’s
positions at will. Once the front had stabilised preparations were
started for a limited counter blow with the aim of clearing the
Eastern Dorsales as far south as Robaa and the Karachoum Gap; also
capturing the Kebir Reservoir (which supplied Tunis).
This
sector was held by an ad hoc collection of French units part of
Juin’s XIX Corps; the French lacked modern equipment and radios and
the Germans were convinced this was a weak point of the front. A
diversionary attack was also planned against the British around Bou
Arada to draw off allied reserves and disguise the axis of the German
attack. The attack was code-named “Eilbote” – special
messenger.
Kampgruppe
Lüder together with troops from 756th
Mountain Regiment having brushed aside Sous-groupement
Carpentier continue their drive down the Ousseltia Valley towards Hir
Moussa and the Karachoum Pass. There has been a brief pause whilst
troops reorganise, rest, re-arm and mop-up remaining French colonials
from around Oum-el Abouab.
The next objective is the Carrefour (cross roads) of Hir Moussa referred to by the Germans as “Point 19”, which sits on the road
to Ousseltia the area provincial town. Taking the village and crossroads
will both open the way south to Ousseltia
and also close off the southern end of the Karachoum
Pass, a major objective of Eilbote, closing off routes towards Tunis
and forming a solid defensive line.
A plan was formulated for Lüder`s mixed column from 10th Panzer to
proceed down the road whilst elements of 756th Mountain Regiment
would swing in from the north and envelope the carrefour defences.
The French XIX Corps command had placed their only mobile reserve at
Hir Moussa, it’s this force plus various stragglers that must halt
the German advance.
French orders
A surprise German counter offensive has been launched, Juin`s XIX
Corps stretched thin across the Dorsales is being pushed aside by
superior German armoured units. Your command was the Corps only
mobile reserve based around the village at Hir Moussa. The situation
has now changed dramatically you’re your forces must try and hold
the superior German units from breaking through to the provincial
town - Oussetia! You must hold long enough for Allied reinforcements
moving up from the south to reach you and stabilise the situation,
the honour of France is in your hands, bon chance!
French forces
Sous-secteur HQ with –
HQ plus transport
Elements of 411e DCA with 2 x AA MGs
Section d`Sanitaires (Medical unit)
2 peloton 47e Regiment Infanterie Coloniale (10 men each with: 1 -
LMG and 1 - VB launcher)
Gun section 61RAA - 75mle1897 plus crew (horse towed)
1ere du 1REC (Lt Nede) with –
1 x armoured car peloton, 1 x motorcycle recce peloton (9 men, 1 -
LMG)
1 escadron moto du IV/8e Garde
with –
2 x cycle pelotons (each with an LMG, 1 x VB launcher)
Compagnie “F” de 37 AC de Marine
– 2 x 37mm gun with crews & tows
1 section de la 1re Batterie de DCB
– 1 x 25mm AT gun plus crew & tow
7e escadron du 4RCA – 2 x D-1 tanks
Emplaced in and around the Roman ruin south of Hir Moussa, a totally
separate command, the 1st of three blocking positions
thrown up by the Allies.
Captain de Mareul
57th Goum of 1st Tabor (1GTM)
Gun section - 47mm AC (64RAA)
Gun section - British 6pdrs (21st Anti-Tank Regiment, RA)
Elements of a US tank destroyer company – 1 x Dodge w/37mm (601st
TD Battalion, 1st US Armd Div.)
A platoon of US M3 lt tanks (1st US Armd Div.)
A platoon of Ft17 (commanded by Capt. Lennen)
Additional troops
On Turn 4 - stragglers from 7RTM withdrawing from Oum-el Aboub and
other positions NW of Hir Moussa
2 x reduced platoons (7 man platoons) one has an LMG, the other a VB
launcher)
On turn 8 - stragglers from the Karachoum Gap
8 legionnaires (I/1er REI) inc LMG
Turn 12 + 1D6 from the south-east
Recce unit from US 1st Armd Division: 2 x Jeeps (one with radio, the second w/.30cal) (6 men)
White scout car (8 men, inc BAR & Grenade rifle)
German forces
Down the road from Oum-el Abouab
Kampgruppe Lüder
Elements of 10th Panzer:
Elements of Kradschutzen-10: Armoured car platoon, 2 - motorcycle
platoons
HQ + 2nd Kompanie/69th Panzergrenadier Regiment
(motorised) inc FOO for artillery with HQ (in trucks)
2/I battalion 7th Panzer Regiment (3 x panzer III)
Platoon of 4/I battalion 7th Panzer Regiment (1 x panzer
IV)

Support
1 x battery I battalion 90th Panzer Artillery Regiment
(105mm) off table situated at Oum
Turn 8 - 1 x Stuka sortee
Turn 10 from the north
Infantry company from II battalion 756th Mountain Regiment
Turn 15 Down the road from Oum-el Abouab
Elements of 501st hvy Tank Battalion
1 x Tiger I
1 x Panzer IIIN
501st Panzer pioneer platoon
2 platoons 3rd Kompanie 69th PG in trucks
1 platoon Panzer Pioneer Battalion 49 (in half-track)
My table
Looking north towards Hir Moussa
Looking north towards Hir Moussa across Roman ruins south of the town
Looking down the road from Oum-el Abouab
A few shots of Hir Moussa and the shrine
Roman ruins
The game
The German elected for three turns of random artillery (4 rds x
105mm) onto Hir Moussa as their forces advanced down the road.
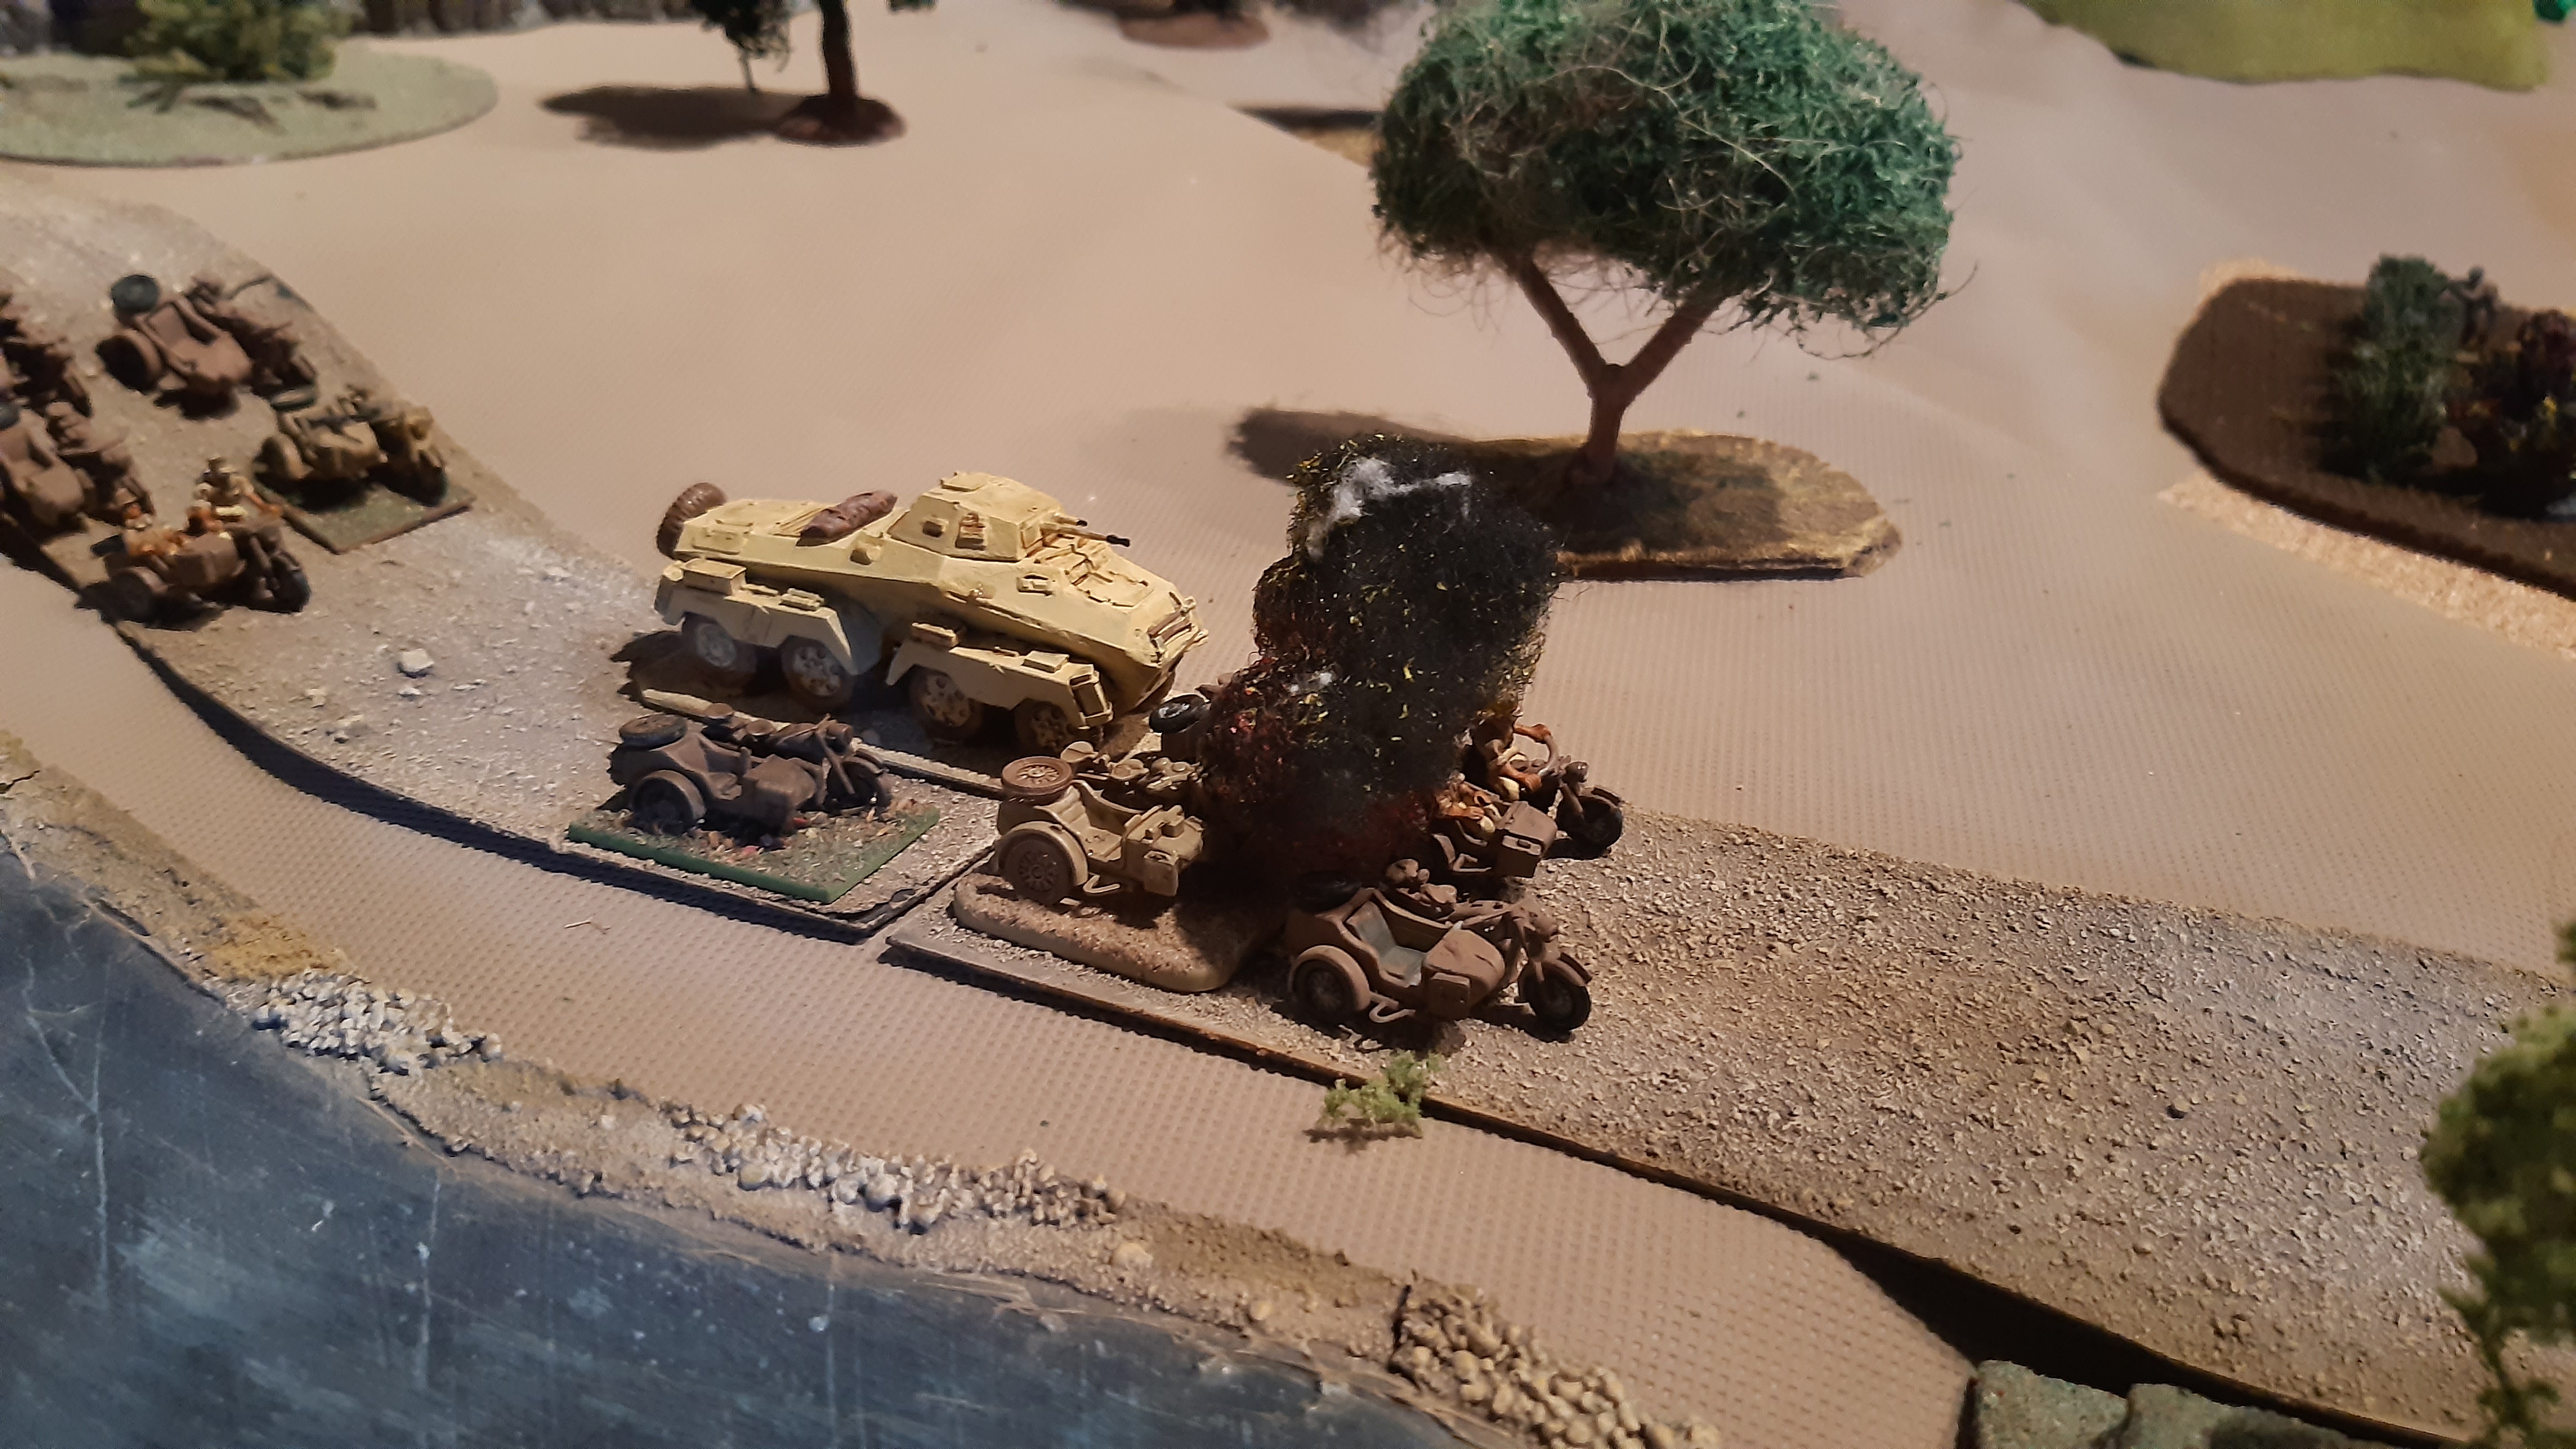
Turn 1 Kradschultzen-10 lead the way
This turns artillery was scattered and caused no French casualties
Turn 2 the German advance continues, but 1st motorcycle
platoon takes casualties from an indirect `75 shell
The German artillery is once again random, but lands two shells one
into the mosque (the French HQ) and the second among the Legion
cavalry!
These shells not only knock out the Aml50 but, destroy a staff radio
truck and kill several officers including the legion cavalry
Lieutenant, the surviving legionnaires fail their morale check and go
to ground!
Turn 3 last round of random German artillery, nearly takes out the
Hotchkiss DCA (luckily gun and gunner survive), the rest of the
shells land harmlessly but just infront of the advancing
kradschultzen-10. The French `75 fails to land a shell on target!

Turn 4 the Moroccan stragglers arrive.
The German motorcyclist dismount and advance on foot
At this point they are hit from the French concealed in the vineyard
and take a few casualties, the 25mm hits but fails to penetrate the
Sdkfz232!
Turn 5 Both Krad platoons plus the 232 and the lead panzers move to
engage the French in the vineyard.
The French infantry cause a few more casualties among the Germans,
the 25mm once again failed to penetrate the 232. The gun is wiped out
by a 50mm shell from a panzer III and the French infantry are chopped
up by multiple LMGs, vehicle mounted Mgs and 20mm auto-cannon…..
The French `75 zeros in on one of the panzers (near miss, no effect)
Turn 6 what is left of lead French platoon retreat, but the
Kradschultzen are still pinned by French troops on top of the store.
The Panzers and 232 turn their attention to these! Behind the burning
building you can see the first D-1 advancing to contact
The
French `75 lands a round smack onto a panzer III, setting it ablaze!
Turn
7 the remaining panzer engages the D-1 which takes a catastrophic hit
and blows up!!
The
lead platoon of 2/69 PG arrives only to get its truck machine gunned
from the opposite back – truck destroyed, casualties inflicted!! In
this photo you can also see the 232 has moved out of the vineyard
back onto the road.
Turn
8 the Luftwaffe arrive
As
do the Legionnaires retreating from the Karachoum Gap
The
Moroccans have moved to back up Guarde Republic on the south bank,
both are hotly engaged with 2/69 PG across the river, a panzer IV
adds its firepower to the struggle as does the 232, which is hit by a
concealed 37mm AC d`Marine (fails to penetrate). Both sides take
casualties. The panzer III supporting the Kradshultzen infantry moves
through the vineyard and pushes past the burning D-1
Turn
9 the Stuka lays her eggs on a building in the village (French DCA proved ineffective), destroying
the structure killing several french infantry.
At
the river the German artillery FOO brings down fire onto the south
bank
The
37mm damages the 232, but return fire from the A/Cs 20mm wipe out the
gun crew.
Accumulative
casualties force a morale check on the 1st Guarde Republic
platoon who fail badly mount the bikes and flee; but the Moroccans still hold
the line and French infantry and the 2nd Guarde Republic
platoon in the village cause further German casualties.
Turn
10 The Kompanie from 756th Mountain Regiment arrive on
tabletop
The
Panzer III supporting the Kradschlzen infantry in the village, spots
and blows up another French truck near the mosque/HQ
The
Panzer is hit in the flank by the last D-1 (fails to penetrate), the
Kradshultzen infantry are badly mauled by Guarde Republic and MMG
fire from the DCA position on top of the mosque.
Back
at the river, the Germans have the fire-power, but cannot make
forward progress as the Moroccans are well emplaced.
Due
to overall casualties the French must take a morale check, which they
pass
French
first aid post bringing much needed comfort to the defenders and
boosting morale.
Turn 11 the legionnaires
coming from the Karachoum Gap arrive at Hir Moussa, their officer
moves to re-organise the legion cavalry and form a solid defence
around the shrine against the incoming 756th Mountain
Regiment
The
Panzer in the village targets and wipes out the AA MG, but the
Kradschultzen infantry have taken too make casualties and fail their
morale and withdraw to cover.
Back
at the river one platoon of 2/69 PG cross over covered by the Panzer
IV, the rest of 2/69th along with the damaged 232 and the panzer III
continue their battle with the Moroccans.Turn
12 756th Mountain Regiment runs right into the reformed
Legion company, plus troopers from Guarde Republic and other odds`n
sods. Both sides take casualties. The D-1 and the 37mm d`Marine both
swing round to face the panzer III which has flanked them!
At
the river the Moroccans are overwhelmed by fire, though 2/69th are
badly blooded! The second Panzer III takes a direct solid shot hit
from the `75 and is knocked out!
Turn13
the panzer III in the village moves to engage the D-1, the panzer
misses and the D-1 fails to penetrate, the 37mm d`marine also fails
to penetrate!!
The
French `75 crew begin manhandling their gun to the road.
The
combat between 756th Mountain and the Legionnaires, et al builds up – very bloody
Turn
14 the US recce troops arrive on the tabletop
With
the Moroccans gone the Germans reform and what is left of 2/69th and
the Panzer IV start to moves down the road again
The
infantry quickly come under fire from what is left of the French
defenders, these intern are fired at by the damaged 232 and the Panzer
IV.
The
French gunners get their `75 in position
In
the village, the Panzer III faces off against the 37mm AC d`marine
and the D-1, all firing is simultaneous both French guns fire, hit
but fail to penetrate! But the panzer rolls “double 1” the gun
breech jams!! Faced with two from guns, surrounded by French troops
in the various buildings, I rule a morale check – which they blow
badly and abandon their tank, a couple of them are killed
immediately!
Turn
15 The next German reinforcements enter the table
The
Panzer IV is fired on by the French `75 (hit fails to penetrate),
spots the gun and fires back – rolls “double 1” yet another
jam!! The infantry and 232 are hotly engaged with the dug-in French
infantry.
Back on the edge of the village, a brave Guarde Republic NCO jumps onto the abandoned Panzer III and
drops a petrol bomb inside!
On
the hill and around the shrine the Kompanie of 756th Mt
Reg. are in a bitter battle with the legionnaires and what is left of
the Sous-groupe HQ.
Turn
16 the panzer IV reverses away from the French `75 - which fires
again, hits again, but again fails to penetrate! The Panzer gunner
manages to un-jam the gun. The 232 fires its 20mm towards the French
`75 to keep the gunners heads down. The German infantry have
virtually cleared all the troublesome French infantry. The first US recce vehicle reaches the outskirts of the village and cuts off road.
The
battle around the shrine has reached stalemate, both sides have
reached their limits.
Turn
17 the panzer IV advances again (successful morale check), this time its gunner is spot on
The
German FOO calls down artillery onto the village with devastating
effect, smashing the D-1 and killing several French
Turn
18 French morale collapses, though the legionnaires and HQ personnel
still holdout at the shrine and mosque. The Germans are pouring down
the road, The US recce quickly gets off it out of direct line of
fire.
Interesting mix of kit and units, the game is quite one-sided, but the French did better than expected.