Zaharani River
Lebanon, June
11-12th 1941
After
crossing the Litani River, the next major obstacle to the Allies was the
Zaharani which cut across the line of advance towards Sidon. There was a vital
road linking the coast to Merdjayoun, the task fell to 2/14th Battalion AI
supported by battalion mortars and a battery from 2/4th Field Artillery. The
Vichy had blown the bridge and the Australians are forced to try a direct
assault across the river-bed (hardly more than a trickle at that time of the
year, but the banks are steep). Facing them are men of the 6th Foreign Legion
Infantry, well dug-in with machine guns and mortars.
Australians
2/14th
Infantry Battalion with:
HQ
inc artillery FOO
3
rifle companies
Battalion
3” mortars (off table)
Battalion
HQ & medical detachment
“A” company includes artillery FOO

“B” company
“C” company
Support
Battery
2/4th Field Artillery (25ldrs) – off table
Reinforcements (turn 8)
“A”
Company 2/27th Australian Infantry
No1
Battery 2/2nd anti-tank battalion (37mm Bofors)
Air
support
2/14th
can call in a sortee from a Hurricane fighter bomber any time after turn 10,
the plane arrives over the table 1d6 turns after called.
Vichy
defenders
Elements
6th Foreign Legion Infantry Regiment
HQ
4
infantry platoons
3
x MMGs
2
x 80mm mortars
Reinforcements (turn 8)
4
x R-35 tanks
Air
support
The
Vichy can call one sortee from a MS.406 any time after turn 6 the
aircraft arrives 1d6 turns later.
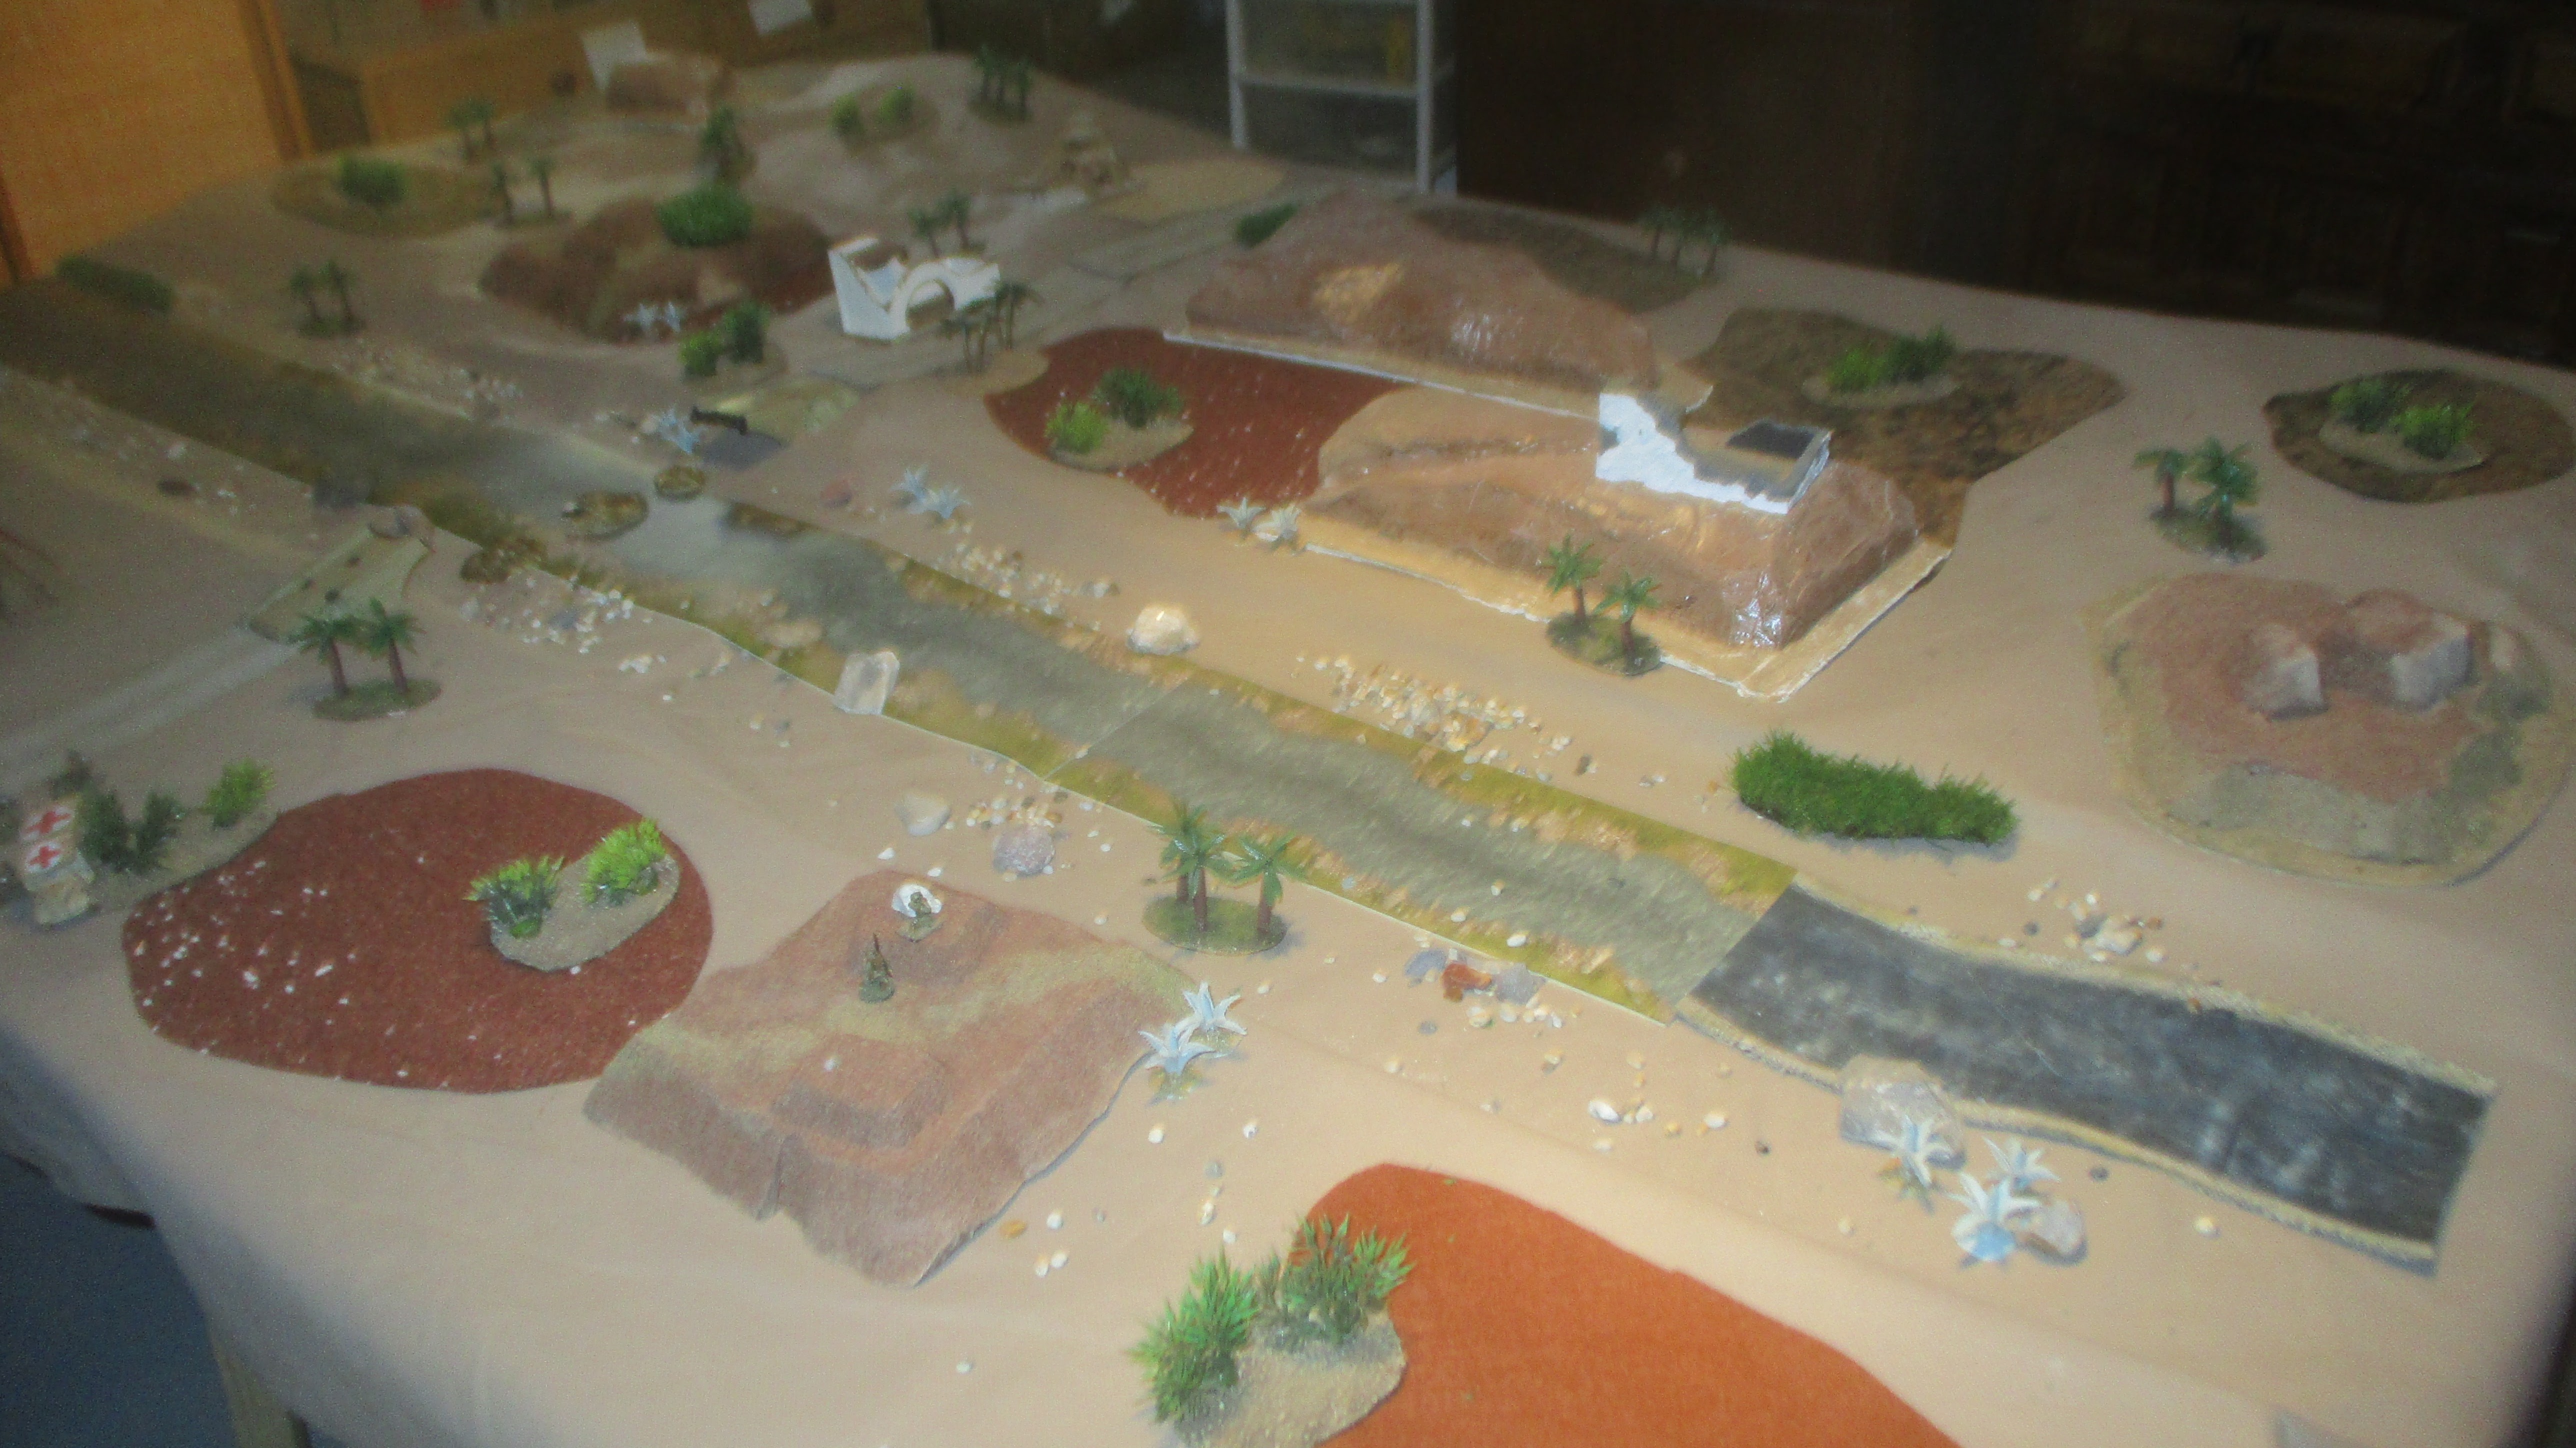
My table
Australian Battalion HQ

Forward Aid Detachment

The first couple of turns see the Australian “A” and “B” companies descend
the steep banks, they come under Vichy mortar and machine gun fire.
The Australian FOO calls down his 25ldrs against the old hill fort as he
assumes its occupied (maybe by the Vichy FOO team)

Turn 3 “B” company is taking quite a lot of fire from the Legionnaires –
rifle grenades and machine gun fire take a toll - No3 platoon is so badly hit
it requires a morale check!
The 25lbrs smash the hill fort

The Australian Battalion HQ calls its 3” mortars against one of the machine gun nests

The French realise their 4th platoon is too far away to help
the defence, so order it towards the centre.

Turn 4 Sees both Australian companies crossing the river bed under fire
No3 platoon of “B” company breaks and falls back

The Australian 25ldrs change their target to the next high point in an
attempt to illuminate the French FOO

Their mortars knock out one of the French machine guns

Turn 5 finds what is left of the two Australian companies across the
river, but they are both pinned by well placed Vichy positions, No 1 platoon of
“B” company finds itself counter-attacked by a Vichy unit, they take so many
casualties they require a morale check. No2 platoon gets caught by mortar fire
and takes enough casualties to also require a morale check!

Australian 25ldrs continue to target far high ground in an attempt to
find the French FOO
The Australian commander decides to commit “C” company
Turn 6 “A” company is pinned, both “B” company platoons fail their morale
checks and retreat back across the river, thus “B” company with only its HQ and
No3 platoon left (both with casualties) are also unable to move forward!

“C” company begins to scramble down the bank and are hit by French
mortars

Australian mortars land among the Vichy who are moving in on “B” company,
casualties effectively stop this counter-attack from developing

Again Australian artillery hits the hill searching out the FOO
Turn 7 Those survivors of the “B” company platoons in retreat meet “C” company on
the river bank, “C” companies commander moves to rally them.

His company are still under mortar fire

Australian artillery finally gets their man

Turn 8 “A” company 2/27 AI arrive on table
“C” company begin to cross the river

Turn 9 The Aussies reach the far bank and along with the remnants of “A”
and “B” company begin to move forward, their mortars and artillery add support.
French launch an impressive counter-attack R-35s, H-35s, Legion infantry
all suddenly bursting out of cover into the Australian infantry!
An MS406 strafes the 25ldr battery scattering their crews.
Turn 10 The French tanks open up on the Australian infantry with devastating effect,
this added to fire from the Legionnaires stops their advance cold.
The MS406 circles around and strafes “A” company 2/27 AI (despite AA Bren
fire) who were forming up to try and cross the river, casualties included the
company CO and his 2IC, I decided the company needed a morale check!
Turn 11All companies across the river are in full retreat, and “A” 2/27
fail their morale check and go to ground
Game over
History
2/14th walked into a world of hurt and found themselves unable make headway against a determined enemy. On the morning of June 12th the Vichy launched a local counter-attack with R-35s under command of Commandant Rene Lehr (who had fought alongside the British at Dunkirk). This attack totally disrupted the 2/14th, but the tanks were unable to take advantage of the situation due to the presence of the Australian 25ldrs and some anti-tank guns which had moved up during the night.
So in an attempt to break the deadlock 2/27th Battalion was committed and on the morning of June 13th they moved out across the river only to find the French had withdrawn leaving the crossing unopposed.