Nehja Bridge
Syria, June 15th 1941
The allies are slowly but surely forcing back the Vichy towards Damascus. But with less ground to defend resistance is stiffening and there have been one or two worrying set backs.
On the Allied right Colonel Collet leads a mixed column of Free French and allied units in an attempt to out flank the main line of resistance in front of Damascus.
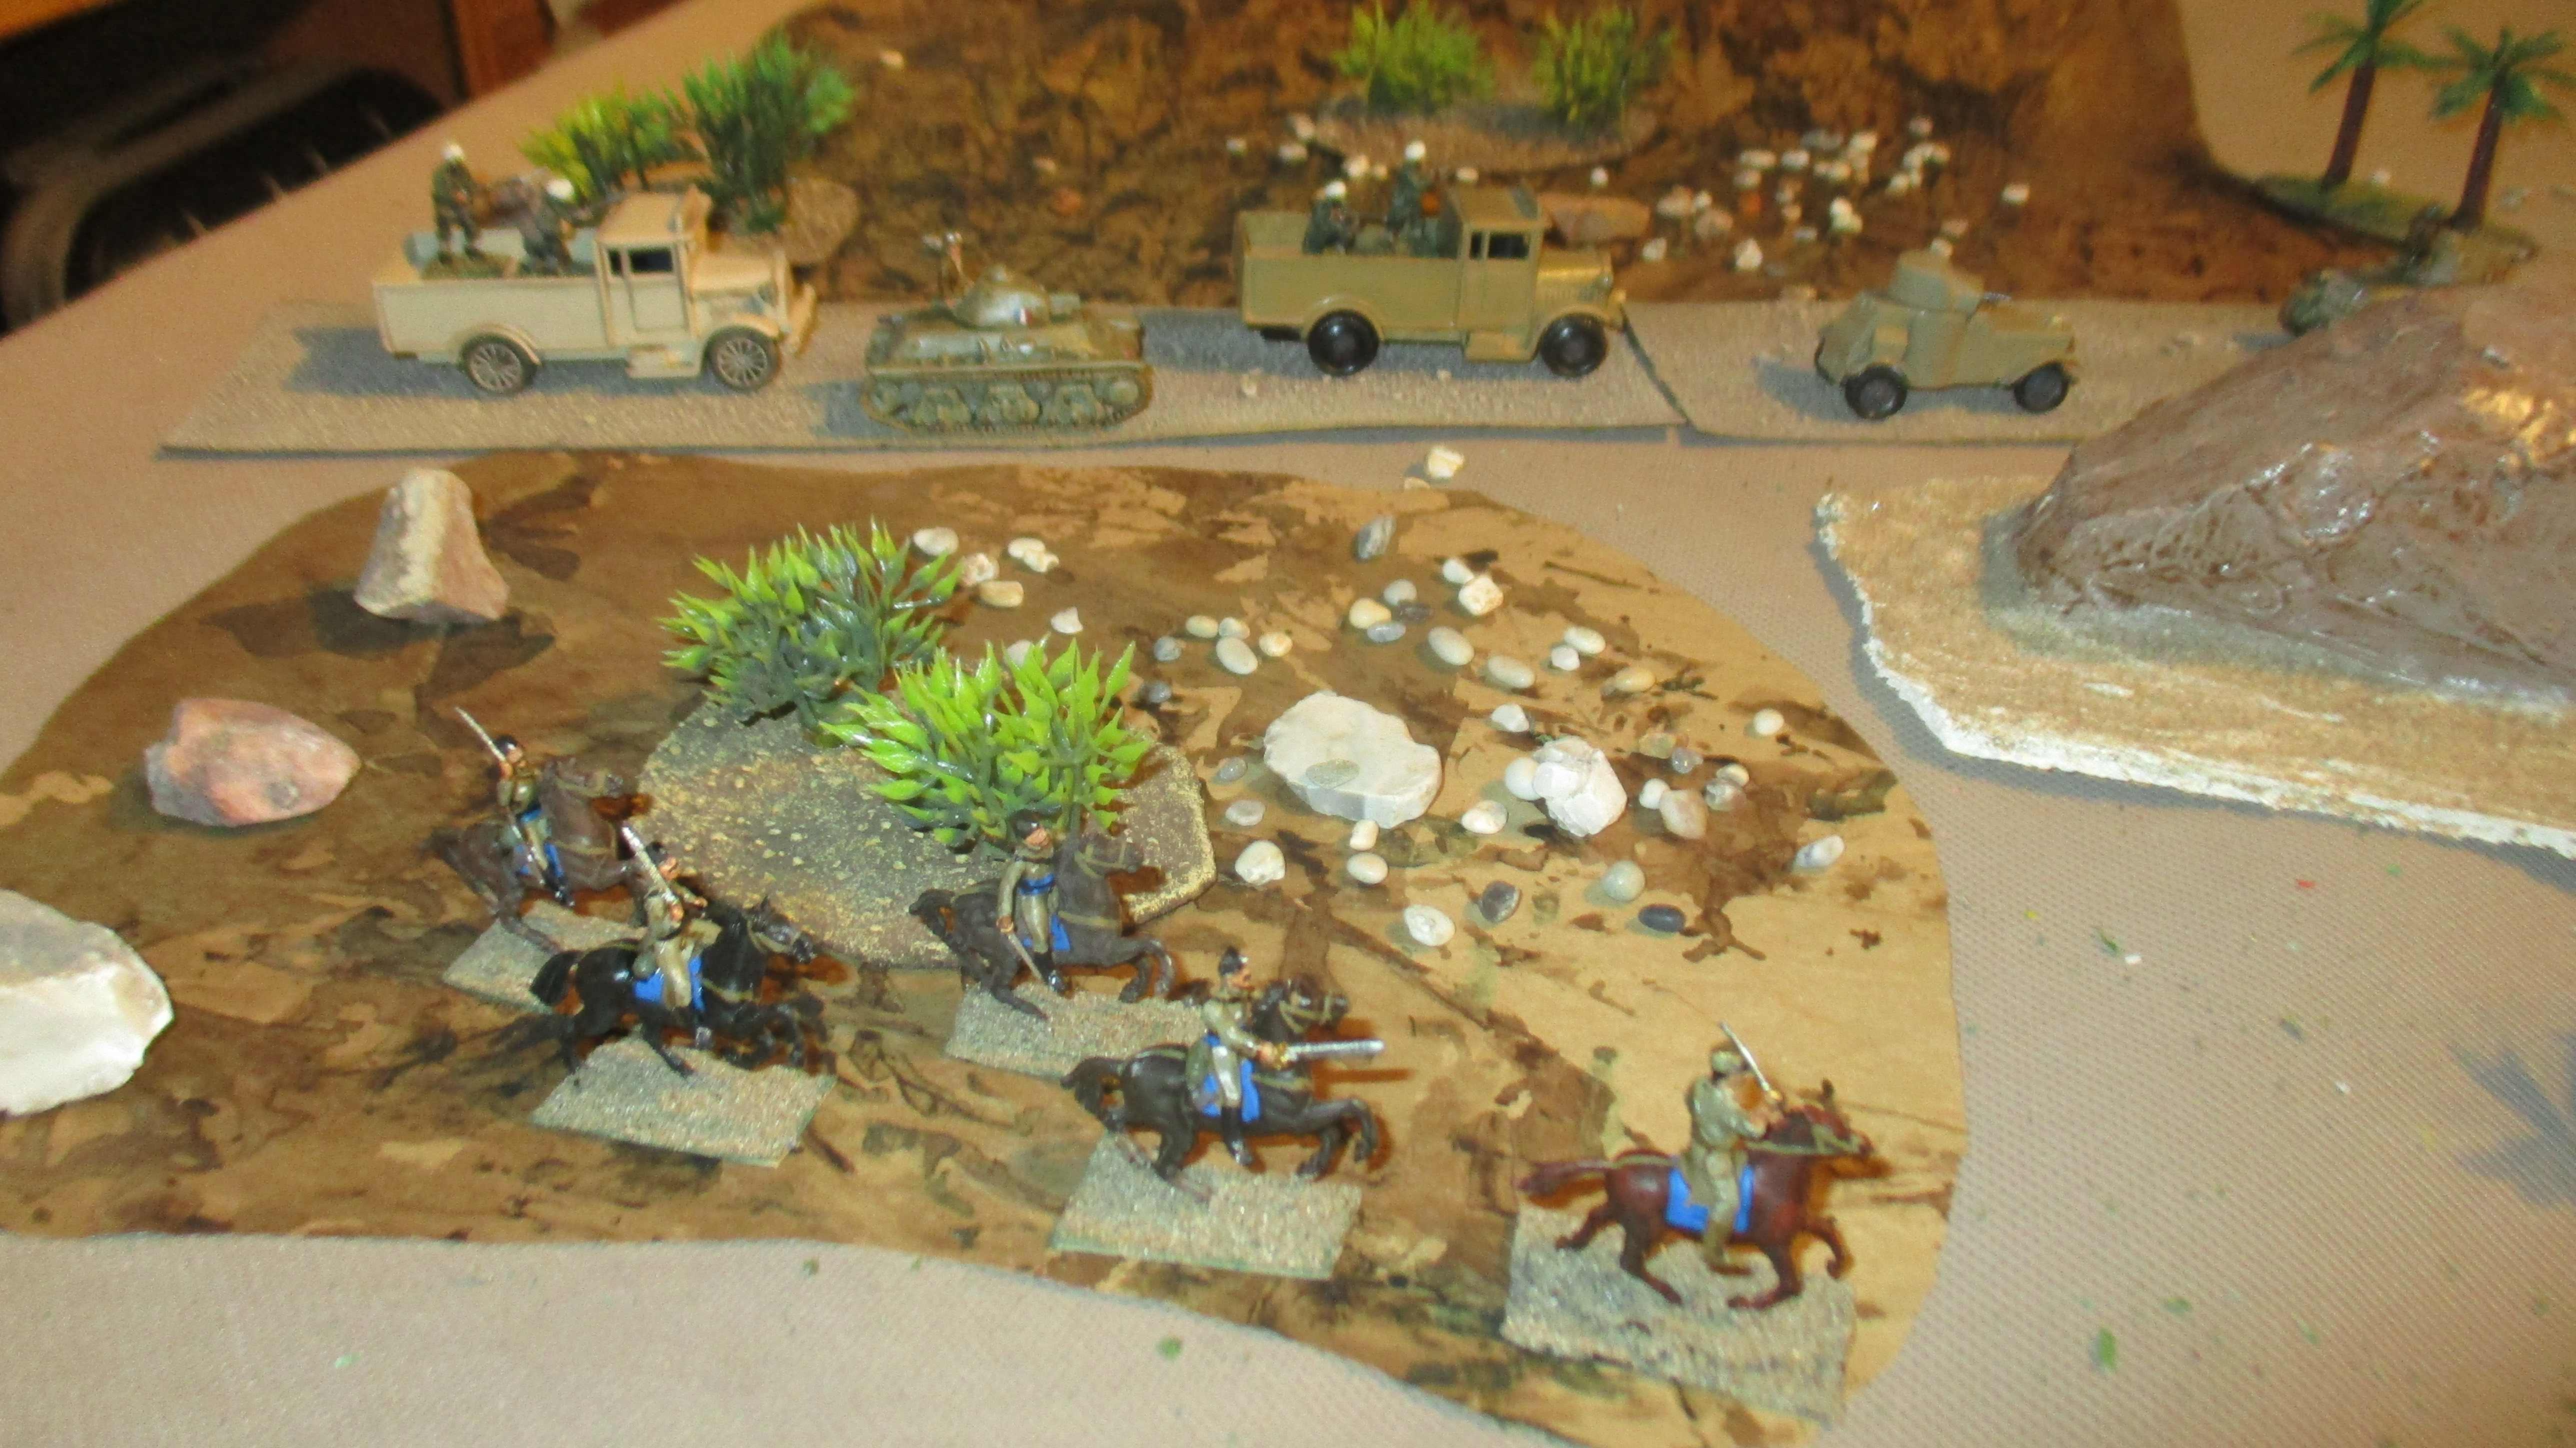
The column consists of Collet`s own Circassian cavalry along with some Moroccan Spahis which had abandoned the Vichy and gone over to the Gaullists with Collet, some H39 tanks (1e compagnie de chars de Combate de la France Libre), an armoured car patrol from the Yorkshire Dragoons, some Senegalese infantry (from 2nd marine Battalion) and a mobile group from the Transjordon Frontier Force. During their time in Levant Collet`s column had also acquired two old French armoured cars and a 75mm field gun too.
The objective is to advance and seize the stone bridge across Wadi Nehja, which will allow allied forces to wheel around the left flank of the Vichy defenders in front of Damascus.
The bridge and its environs are defended by elements of III Battalion, 24th Colonial Infantry Regiment.
Collet`s Force
Yorkshire Dragoons
1 x Humber II, 1 x Rolls Royce AC

French armour
2 x H39, 2 x Laffely armoured car

Circassian cavalry (mounted)
3 x 10 fig troops (they have 2 LMGs)
Please note I`m using my Tunisian`s as dismounted Circassians, the mounted figures are being used as movement markers.

Moroccan Spahis (trucks)
2 x 10 fig troops (LMG, VB launcher each)

Senegalese infantry (trucks)
2 x 10 fig platoons (VB launcher & LMG each)

Transjordon Frontier Force (trucks)
5 fig HQ
3 x 9 fig patrols (LMG each)

Artillery
Mle1897 + tow & crew

Vichy III/24 Colonial Regiment

7 fig HQ
3 x 10 fig platoons (LMG, VB launcher each)
1 x 25mm DCC + crew
1 x 47mm DCC + crew
1 x 81mm mortar + crew
1 x Hotchkiss MMG + crew
1 x 25mm DCA + crew


support
Batterie of 86th RAA (2 x 75mle1897)
1 x Ft17

My table


The game
The first three moves saw the allies moving along the road, whilst the Circassian Cavalry moved down the right side of the table, eventually backed up by the Yorkshire Dragoon armoured cars and the Senegalese


The Vichy had place one platoon forward of the river supported by a 25mm AT gun, they had also placed an FOO on a high hill overlooking the road, on turn 4 he called down his first shots. which straddled the road but caused no damage.

However on turn 5 "A" gun redirected at the first advancing H39 and knocked it out with a near miss.... and "B" gun caused a couple of casualties among the Moroccans who were frantically debussing.


Turn 6 and the `75s continued their good fortune causing more Moroccan casualties and also damaging the second Laffly AC

During turns 4-6 the Circassians moved down the right until the came upon the Vichy pickets and took some rifle fire, at which point they deployed on foot and advanced to contact supported by the machine guns of the Yorkshire Dragoon armoured cars.
The Senegalese moved forward after them

Turn 7 to avoid incoming 75mm shells the lead Laffly and second H39 moved off road to the right, the Laffy immediately got stuck among the boulders and that is as far it went all game.

The Morccan 2nd platoon decided against risking the artillery too and headed left away from the road (as it happened straight towards the Vichy FOO) who called one last strike then withdrew, leaving his guns only able to fire on targets they could see.

One Transjorden platoon followed the Moroccans whilst the rest of the command went right, but found they had to scale a quite formidable rocky escarpment.

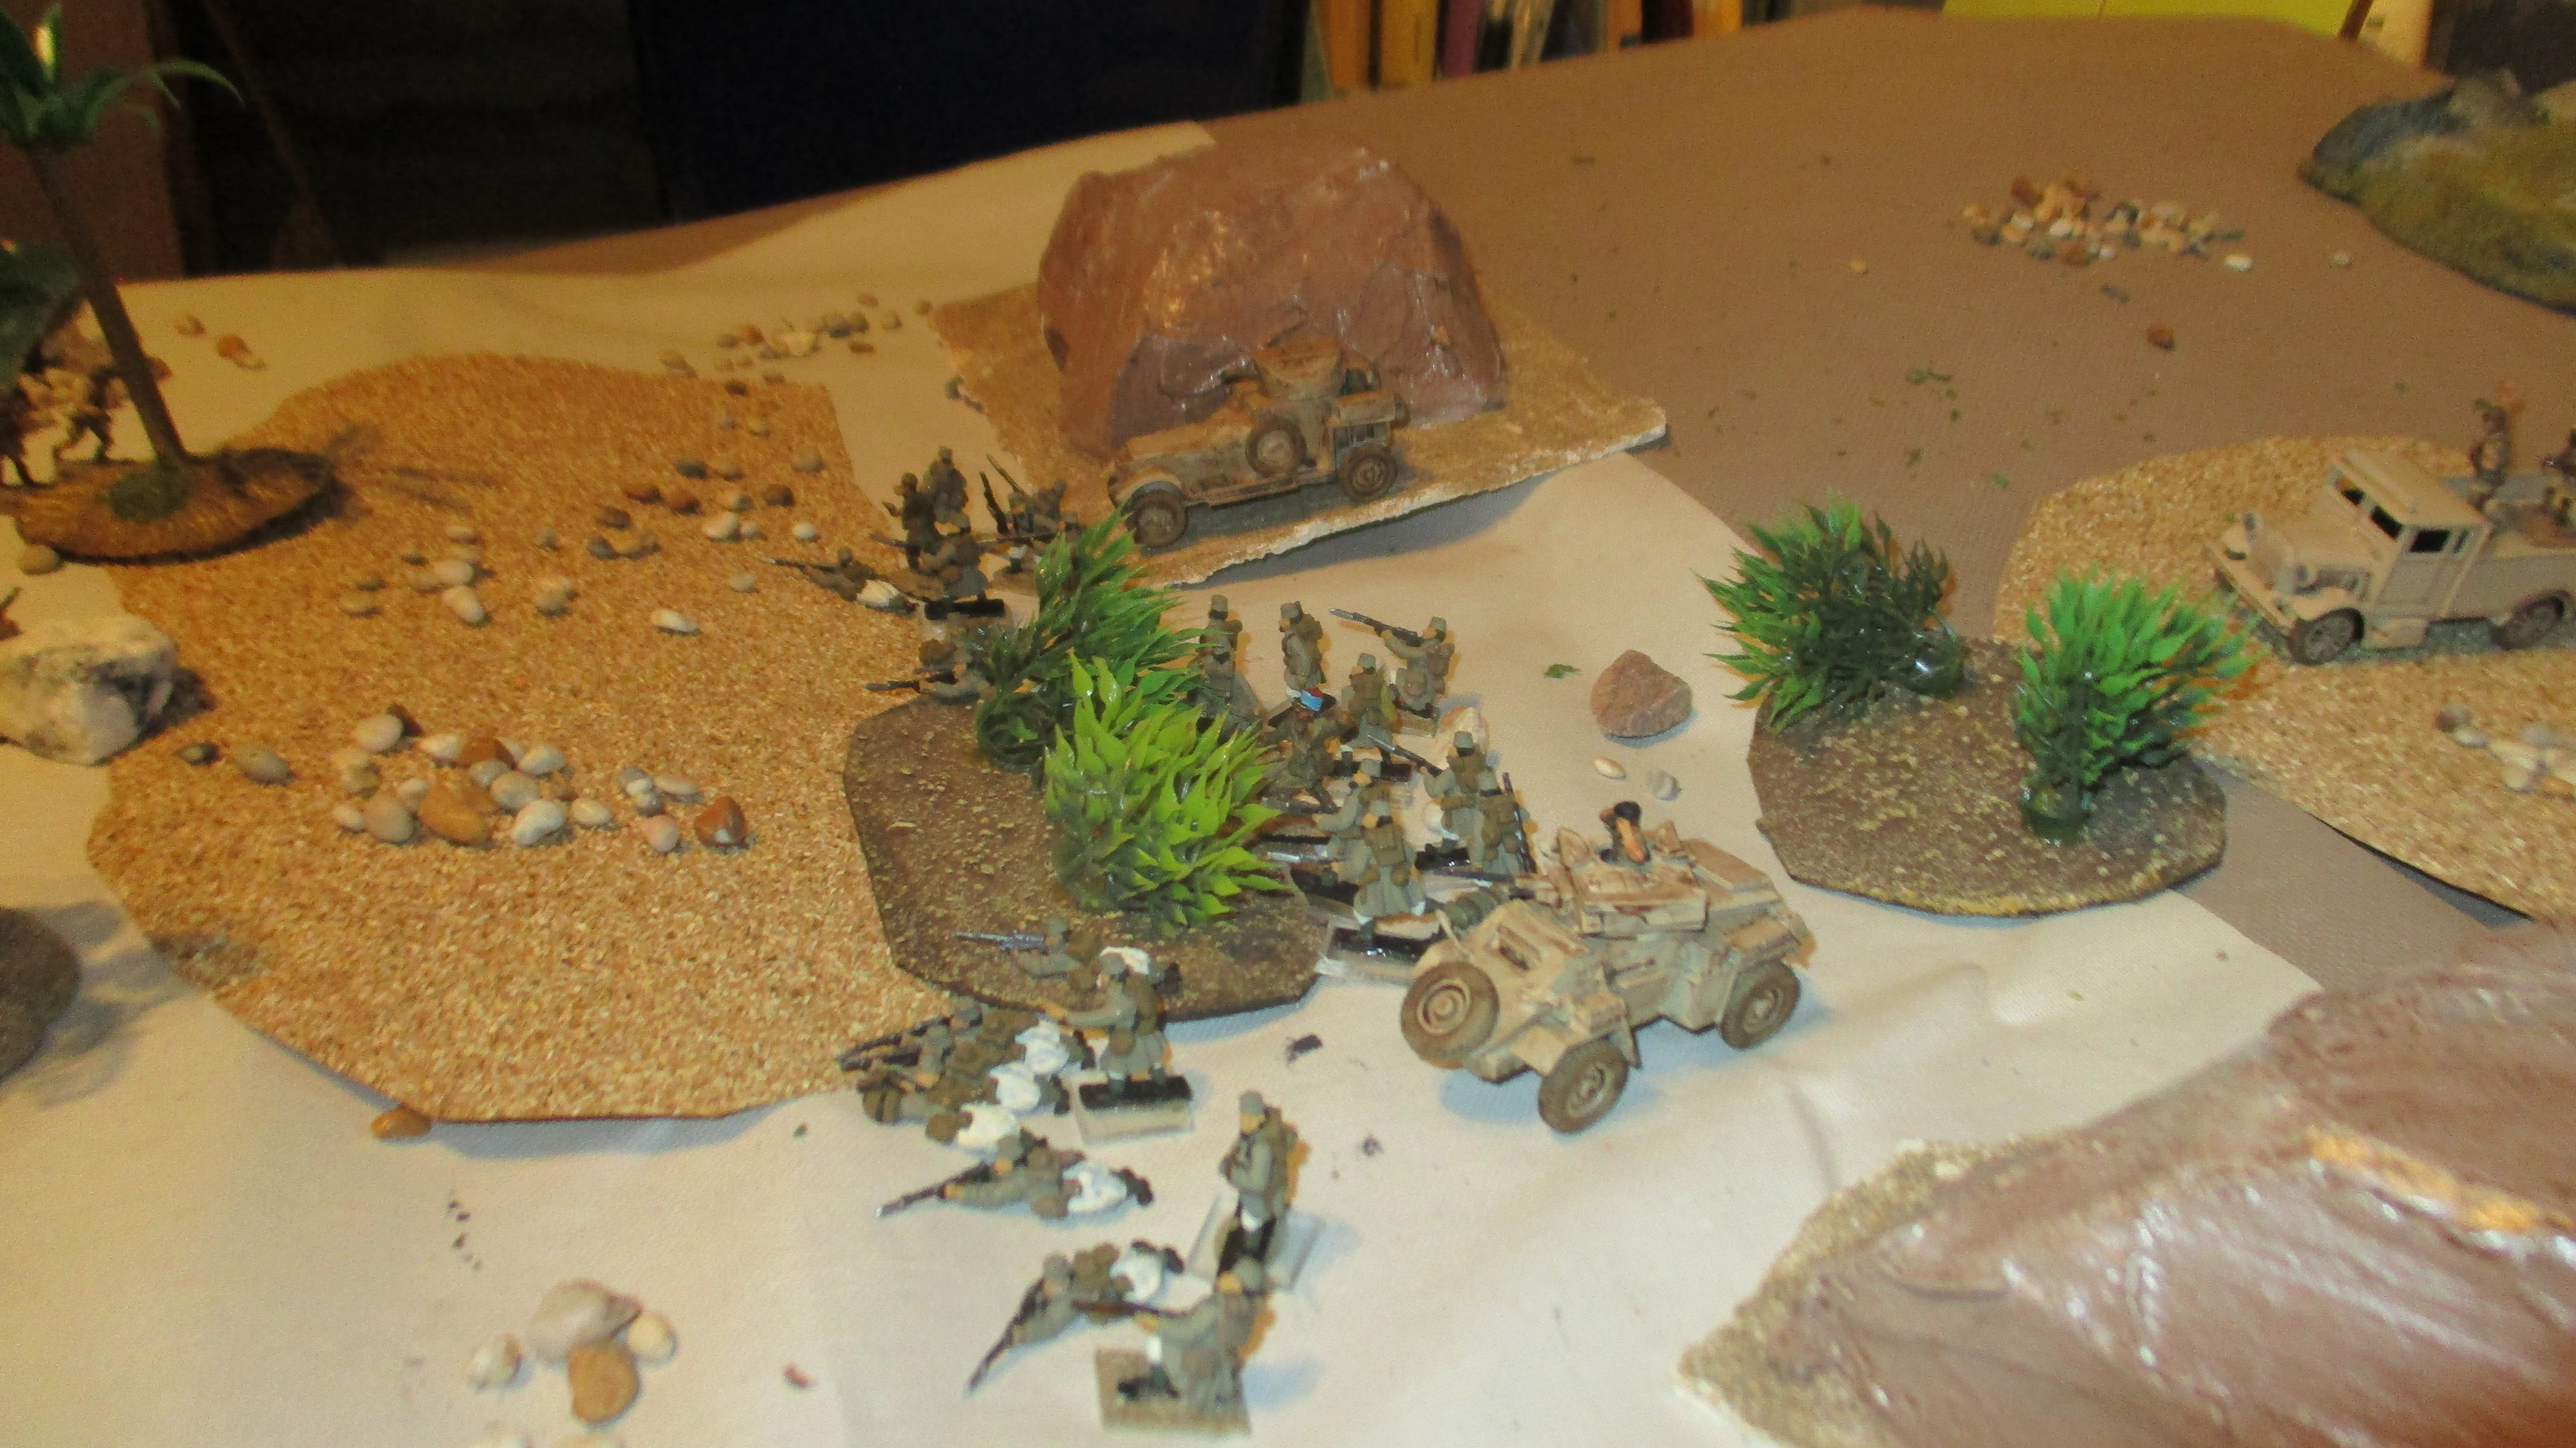
The Circassians launched a frontal attack on the Vichy in front of them.

Turn 8 saw the Senegalese debus and move to back up the Circassians who were successfully defeating the Vichy in front of them.


The last H39 moved forward to support this attack exposed itself to the defenders 25mm which hit but failed to penetrate! The H39s return fire was also ineffective!
The 1st Moroccan platoon ran into a Vichy position well dug in among a rocky ridge over two turns they were virtually wiped out caught by accurate rifle and VB grenade fire in the open.

On the far left the 2nd Moroccan platoon and the Trans-Jordan platoon continued to move forward.


Turn 9 the H39 and 25mm exchange ineffective fire, but the a Vichy `75 spotted and nailed the Hotchkiss.......

The Circassians cleared the defenders and began to move up the hill followed by half the Senegalese.


The platoon nearest the road moved left toward the 25mm, backed up by the Humber II, the 2nd Senegalese platoon moved left also against the dug in Vichy who had done for the Moroccans.

During all this time the rest of the Trans-Jordan units had been struggling over the escarpment


Turn 10
The left most Circassian platoon launched at attack accross the road supported by the Humber IIs guns. The Humber caught a 25mm shell and although the combined fire eliminated the defenders, return fire and direct fire from a `75 decimated them and sent the survivors diving for cover.


Also this turn saw turn saw the Montee `75 begin targeting the Moroccan platoon on the far left.
Turn 11
The Senegalese cleared the last Vichy defenders on the allies side of the river, the Circassians sheltered behind the hill the Trans-Jordanians slowly began to descend the escarpment. A `75 shell caused 5 casualties among the 2nd Moroccan platton who have seen their mates wiped out already just gave up and ran away (double 1 on their morale role).


With the Allies having lost all their armour except for the Rolls Royce, still facing a formidable and virtually untouched defence, the Allies decided not to push any further. The End.
Virtually a repeat of history, the tanks advanced with infantry support (there was some confusion about orders), they were promptly blasted by artillery, a couple were knocked out with their crews captured or killed, the attack was a complete failure.


